Install Armbian eMMC
A guide to installing Armbian onto the eMMC of a CM3588 using a MicroSD card, covering image download, flashing, first boot setup, eMMC installation, and post-install configuration.
CM3588 - Install Armbian to eMMC
Warning:
- The CM3588 has "community support" for Armbian. Meaning it may not work and should be used only if the associated risks have been accepted.
- The 5v fan appears to stay on constantly, this may be able to be adjusted in the device tree but I have not looked in to it.
Overview
This guide will walk you through the process of installing Armbian onto the eMMC of a CM3588 using a MicroSD card. Armbian is a lightweight, Debian- and Ubuntu-based Linux distribution designed specifically for ARM-based single-board computers (SBCs) — like those made by FriendlyElec, Orange Pi, Banana Pi, Radxa, and more.
Prerequisites
- A CM3588 (of course)
- A MicroSD card (at least 16GB recommended)
- A MicroSD card reader (if your PC does not have a slot)
- Armbian image file
Download the Armbian Image
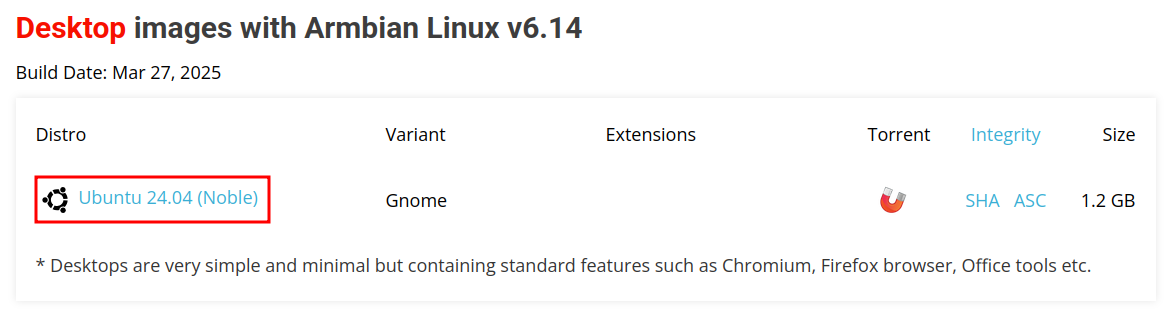
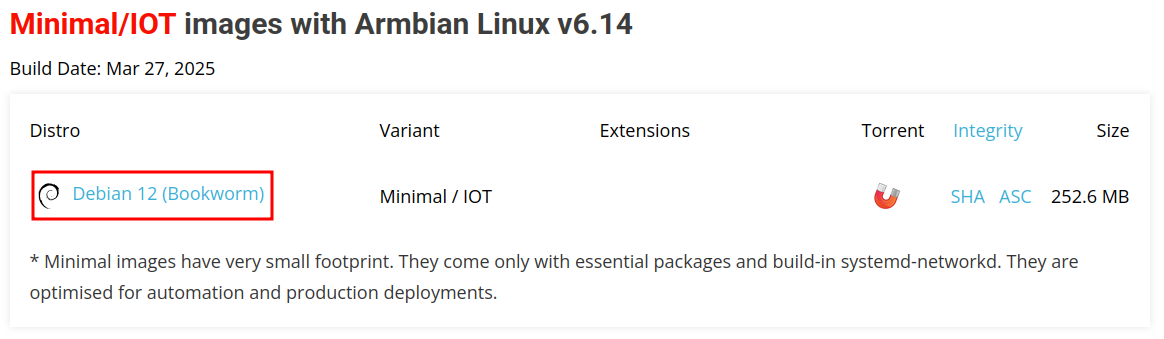
Download the Armbian OS for the CM3588 NAS Kit. This guide can be used with either Ubuntu or Debian Armbian flavors.
Ubuntu is a great option if you need a desktop environment.
Debian is a solid choice for server environments or headless setups.
Flash the Armbian Image to the MicroSD Card
Now that the image has been downloaded, you should have a MicroSD card prepared with the Armbian image. Refer to the appropriate guide for your operating system (Ubuntu or Windows) on how to flash the image to the MicroSD card.
First Boot
Insert the Micro SD card into your CM3588 and power it on. There are two methods that can be used to install Armbian on the CM3588's eMMC storage:
- Connect a monitor and keyboard to the CM3588
- Use SSH to connect to the device once it has booted (if you have network access)
Note for those using the HDMI port: If you have a monitor hooked up to the CM3588, note that 1 of the HDMI ports is an input, and 2 are outputs. To be sure you are using an output, use the middle port. Otherwise you may get a black screen on boot.
I typically SSH into the system on the first boot as it is easier to copy and paste commands over the terminal from my main PC. The instructions should be nearly identical either way.
For SSH, find the IP address of the system. This can be done by logging into your router and checking the DHCP leases. Look for the CM3588 label, here is an example of what it looks like on my router
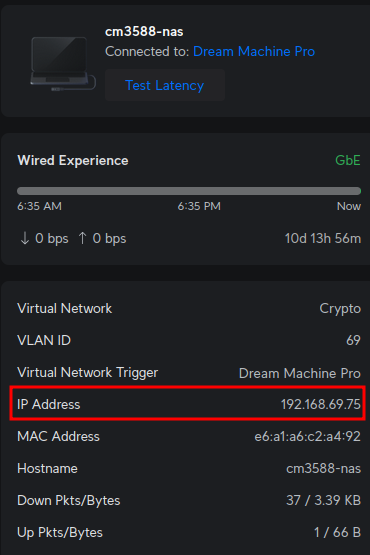
Alternately, if you have a monitor connected, the IP address will be printed to the screen. Once you have the IP address, SSH into the system using the default username and password:
ssh root@<ip_address>The default password is 1234.
Pro tip: I use an application called Termius for SSH, which is available on Windows, Mac, Linux, iOS, and Android. It is a great application that allows you to save your SSH connections and easily manage them.
Setup
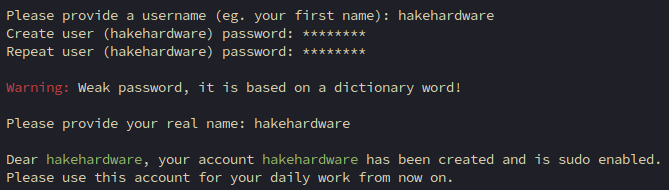
When first logging in, you will be prompted to change the default password. This is a necessary step for security reasons, so make sure to choose a strong password. If you create a weak password Armbian will chide you.

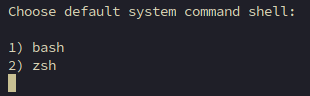
For Ubuntu installations, you will be prompted to select a default shell, I prefer bash.
Next, create a user account. And maybe get chided again.
Generate locales

If you have a monitor and keyboard directly connected, you will see the desktop environment appear (Ubuntu) or a login prompt (Debian). Log in as root using the password you set. If you have SSH'd into your CM3588, you will see a root prompt.
Update Armbian
Before flashing the eMMC with Armbian, I like to update the system. (if in the Desktop environment open up a terminal)
apt update && apt upgrade -yInstall Armbian
Now it is time to install Armbian to the eMMC. This process will overwrite the eMMC storage, so make sure you have backed up any important data before proceeding. In the terminal run
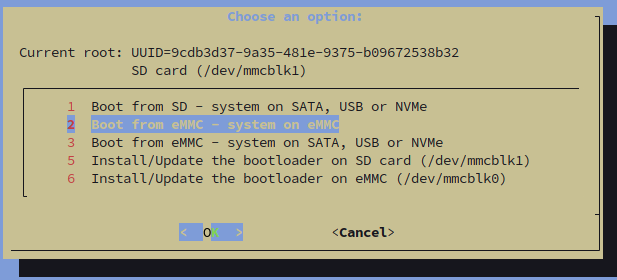
armbian-installSelect the option to Boot from eMMC - system on eMMC to install Armbian to the eMMC storage.
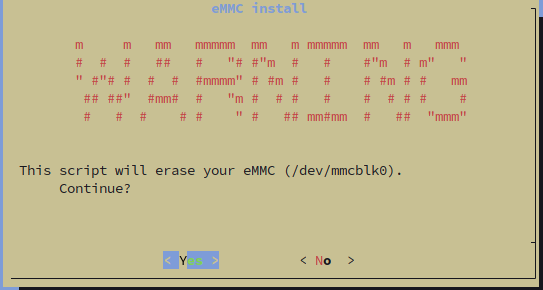
Select Yes to continue.
If unsure, select ext4 for the filesystem type. This is a good default for most use cases.

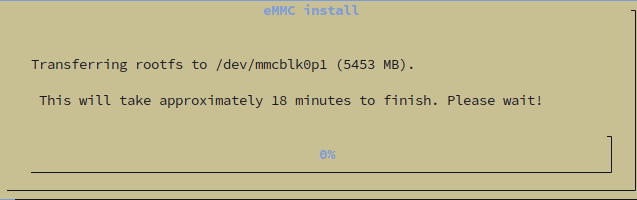
The install process will begin. This may take a few minutes, so be patient. You will see various messages indicating the status of the installation.


Despite this saying 18 minutes - it was actually quite quick
Power the system off, and remove the MicroSD card.
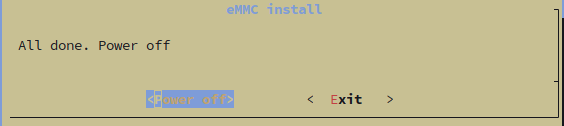
Warning: Remove the Micro SD Card. After the system is powered off, remove the MicroSD card before you power it back on. The system should now boot from the eMMC. If you do not remove the Micro SD card, the system will boot from the MicroSD card and you will need to shut the system off again.
Final Steps
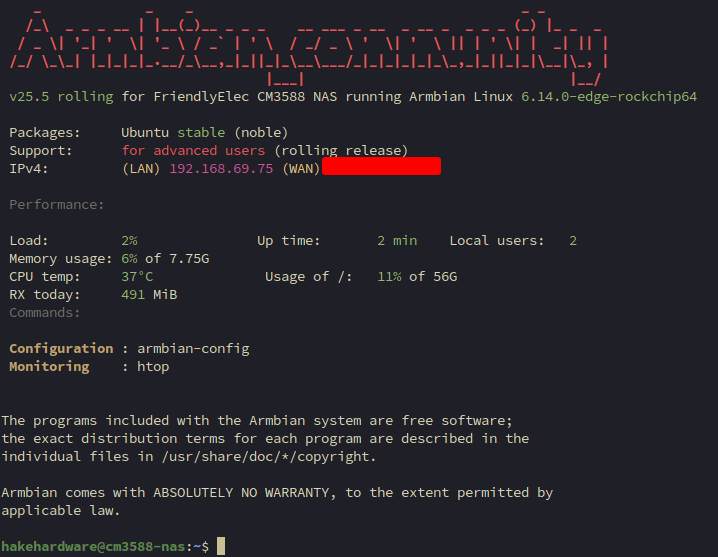
Power on the CM3588 again. If you have a monitor connected, you should see the login prompt or desktop environment (if using Ubuntu). If you are using SSH, remember to update the username and password to the newly created user account.
Ubuntu - Turn off Suspend
If you are using the Ubuntu desktop environment, you may want to turn off the suspend feature to prevent the system from going to sleep. This is especially useful if you mainly SSH into the system. Open up the dconf-defaults file
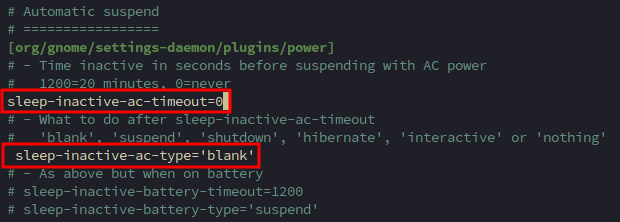
sudo nano /etc/gdm3/greeter.dconf-defaultsMake two changes:
- Uncomment
sleep-inactive-ac-timeoutand set the value to0. - Uncomment
sleep-inactive-ac-typeand set the value toblank.
Press Ctrl + x and then y to save the file. This will ensure that the system does not suspend when running on AC power. Reload and restart Gnome
sudo dconf updatesudo systemctl restart gdm3This will apply the changes to the Gnome Display Manager (GDM) and ensure that the system does not suspend when running on AC power.
Armbian Config
By default the Ubuntu version will have Armbian Config, which allows changing some OS settings, such as hostname, motd, etc.. If running Debian, it will not be installed. I personally do not recommend installing it, most of the things can be done manually. It is quite large and will install a lot of packages
sudo apt install armbian-configThis will install the armbian-config utility
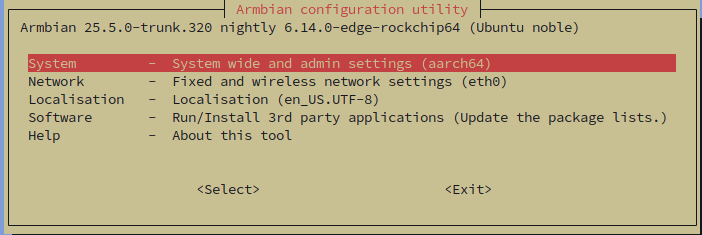
armbian-configThis will bring up a menu-driven interface where you can configure various aspects of your Armbian installation. Here are some of the options you can configure
Install Additional Packages
After updating the system, you may want to install some additional packages that are commonly used. Here are a few suggestions:
sudo apt install -y iftop nmap- iftop - Real-time bandwidth monitor for network interfaces. Think htop for network traffic.
- nmap - Network scanning and security auditing tool. Great for discovering devices and services on a network.
Hostname
The default hostname is cm3588-nas. You can change this to something more meaningful for your setup. Update the hosts file by finding the entries for cm3588-nas and changing it to your desired hostname
sudo nano /etc/hosts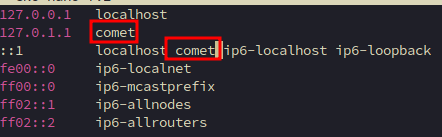
Press ctrl + x then y then ENTER to save the file. Next, update the hostname in the /etc/hostname file to match your new hostname:
sudo nano /etc/hostnamePress ctrl + x then y then ENTER to save the file. This will ensure that your hostname is updated across reboots.
After changing the hostname, you will need to reboot the system for the changes to take effect. You can do this by running:
sudo reboot nowConclusion
Congratulations! You have successfully installed Armbian on your CM3588's eMMC storage. You can now begin to explore the capabilities of your new system and customize it to your liking. Whether you are using it for a home server, development platform, or any other purpose, Armbian provides a solid foundation for your projects.
If you encounter any issues or have questions, the Armbian forums are a great resource for getting help from the community. Additionally, you can refer to the official Armbian documentation for more information on using and configuring your system.
Thank you for following this guide, and happy computing with your CM3588 and Armbian!