Run a Locally Hosted AI
A concise guide to deploying Open WebUI with bundled Ollama support via Docker on Ubuntu 24.04, with both GPU and CPU-only configurations.
Host a Local AI with Docker 2024
Quick Start Guide
If you are reading this guide you probably already know the benefits of running a locally hosted AI. I want to keep this concise, so I will not cover that topic here. This guide will focus on running Open WebUI with bundled Ollama support. We will do this via Docker running on an Ubuntu 24.04 server. Depending on your setup, some steps may vary. This guide generally follows this one: https://docs.openwebui.com/getting-started/
I am using Portainer to manage my containers, you could use Docker Compose but I recommend checking out Portainer if you have not before. Before starting, you should have Docker and Portainer installed and running.
Docker NVIDIA Toolkit
If you plan to use a GPU you will need to do a few extra steps. First, ensure you have the latest NVIDIA drivers installed.
Install the Docker NVIDIA Toolkit by first adding the applicable sources:
curl -fsSL https://nvidia.github.io/libnvidia-container/gpgkey | sudo gpg --dearmor -o /usr/share/keyrings/nvidia-container-toolkit-keyring.gpg \
  && curl -s -L https://nvidia.github.io/libnvidia-container/stable/deb/nvidia-container-toolkit.list | \
    sed 's#deb https://#deb [signed-by=/usr/share/keyrings/nvidia-container-toolkit-keyring.gpg] https://#g' | \
sudo tee /etc/apt/sources.list.d/nvidia-container-toolkit.listThen update apt
sudo apt updateThen install the package
sudo apt install -y nvidia-container-toolkitThen add the nvidia runtime for docker:
sudo nvidia-ctk runtime configure --runtime=dockerAnd finally restart docker
sudo systemctl restart dockerOpen WebUI Container
Now open up Portainer and create a stack file called open-webui, then paste the following in the web editor for GPU support:
services:
  open-webui:
    image: ghcr.io/open-webui/open-webui:ollama
    container_name: open-webui
    restart: always
    ports:
      - "3000:8080"
    deploy:
      resources:
        reservations:
          devices:
            - driver: nvidia
              count: all
              capabilities: [gpu]
    volumes:
      - ollama:/root/.ollama
      - open-webui:/app/backend/data
    runtime: nvidia

volumes:
  ollama:
open-webui:Or for CPU only:
services:
  open-webui:
    image: ghcr.io/open-webui/open-webui:ollama
    container_name: open-webui
    restart: always
    ports:
      - "3000:8080"
    volumes:
      - ollama:/root/.ollama
      - open-webui:/app/backend/data

volumes:
  ollama:
open-webui:The initial deployment can take a while, the image is really large, so give it some time before getting too worried. If you do not see an error pop up it is probably fine. Once it is deployed you can either access it at http://localhost:3000 or if it is running on another server, at http://SERVER_IP:3000.
Getting Started with Open WebUI
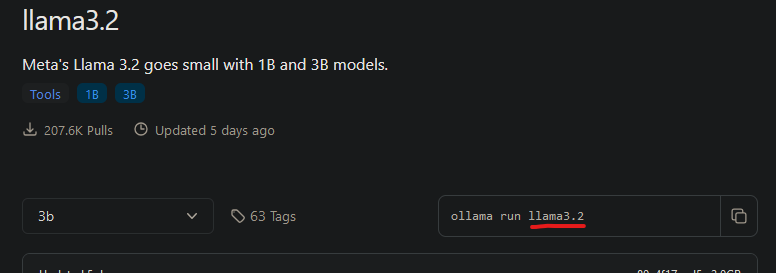
You will be prompted to create an account, this creates an account locally, so no worries about your data being sent externally. After that, it is time to load up a model! Head over to https://ollama.com/library and click the link for llama3.2 (or whatever is the latest model while you are doing this). On the left, select if you want the 1b or 3b model, then look for the name of the model (underlined in red) on the right. Copy it.
Now go back to Open WebUI, at the top right click your avatar, then click "Admin Panel". Then click the "Settings" tab.
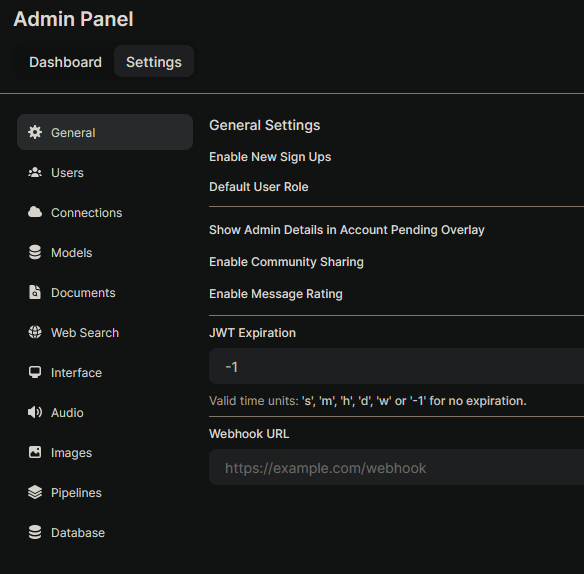
Select "Models". Then in the input for entering the model tag, add the llama model:
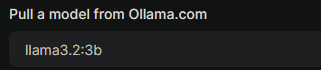
Then on the far right click the download button to pull the model in.
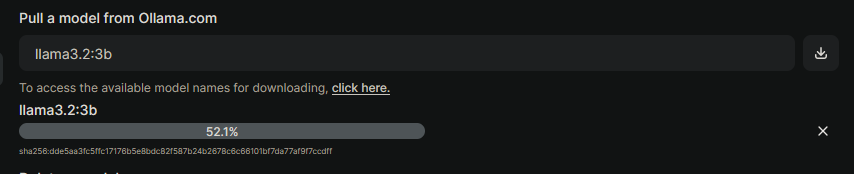
Now click "New Chat" at the top left, and you should be able to select a model now.
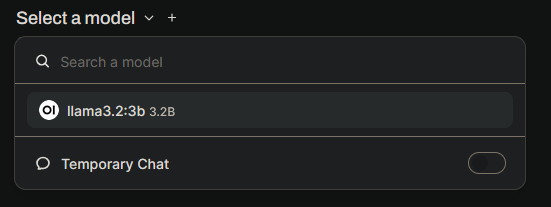
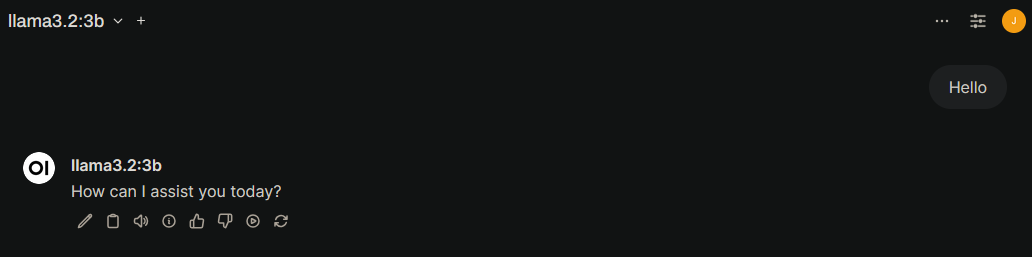
Select the llama model and ask it a question. It should respond (it could take some time depending on your system. If it is taking too long, try the 1b model).
If you want to see how much the model is using your GPUs you can install nvtop:
sudo apt install nvtopAnd then run
nvtopNow ask it a more complex question to see the GPUs get some load.
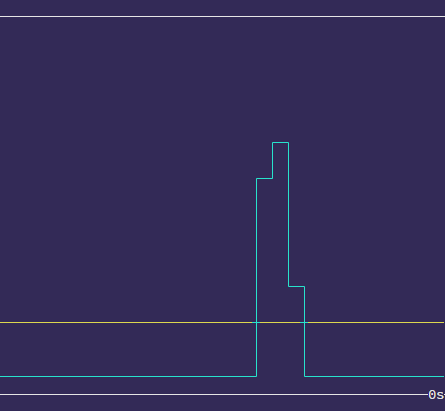
I am running two 4090s so with a 3b model the responses are almost instant. And that's it! Go ahead and try some more models, you can download a bunch and easily switch between them (or even run 2 at the same time). There is a lot more you can do with Open WebUI so take a look at the docs. Some interesting things I plan to cover are how to integrate SearXNG and image generation.