Tutorial
Debian VM
A guide to setting up a Debian VM on Proxmox
This post contains paid links (affiliate) — how that works.
Contents
Overview
Often I need a fresh Debian VM for a new service or application. This guide will cover how I typically set up a Debian VM on Proxmox. Helper scripts has a Docker VM but unfortunately I am not a fan of the way it is set up so I prefer to do it manually. The Docker LXC is great though if what you are trying to do works with an LXC.
Prerequisites
- Proxmox VE 8.0 or later
Download ISO
The first step is to upload the Debian netinst ISO to Proxmox. You can download the latest version of the Debian netinst ISO from the Debian website. For most people the amd64 version will be the best choice. If you are using a Raspberry Pi or other ARM device, you can select the appropriate version for your architecture.
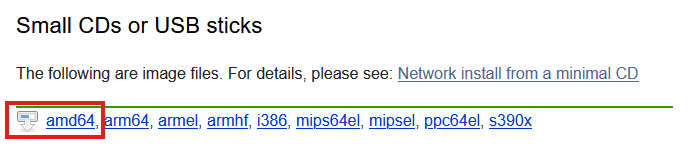
Once you have downloaded the ISO, open up Proxmox and select local (pve) and then ISO Images.
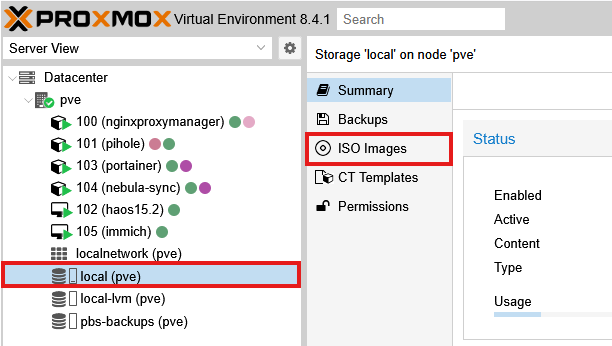
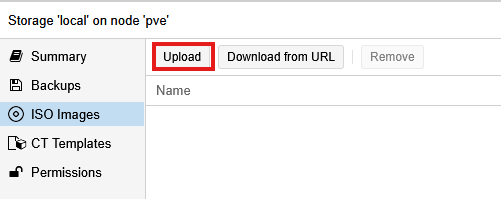
Then click the Upload button. You could also provide the Download URL but I find it easier to just upload the ISO directly.
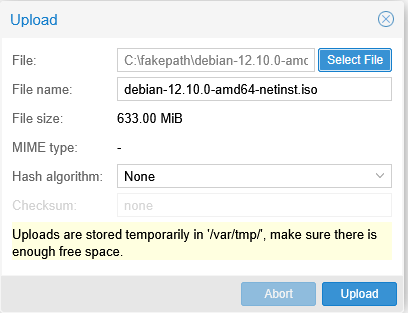
Then click Upload. When you see TASK OK, the upload is complete.
Create VM
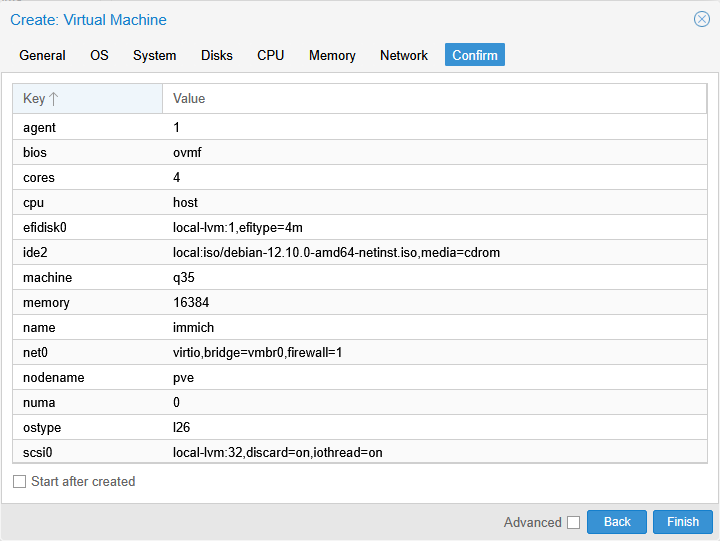
You will need to tailor the resources based on the needs of your application, be sure to check the requirements for the application you are installing.
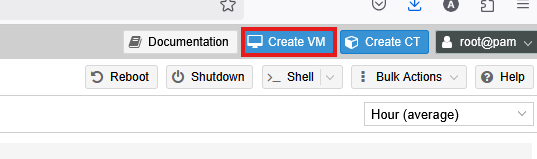
With your Proxmox server selected, click the Create VM button in the top right corner.
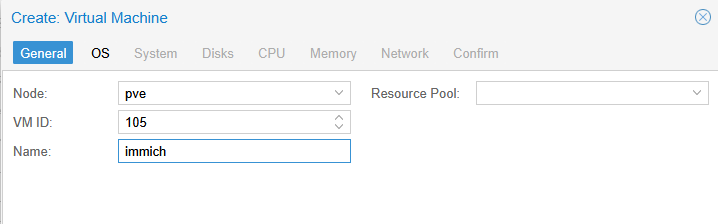
General
- Node: This is the Proxmox server you want to create the VM on. If you have multiple Proxmox servers, select the one you want to use.
- VM ID: This is the unique identifier for the VM. I typically use the next available ID.
- Name: This is the name of the VM. I typically use the name of the application I am installing. In this case, I am setting up a Debian VM for Immich, so I will name it
immich.
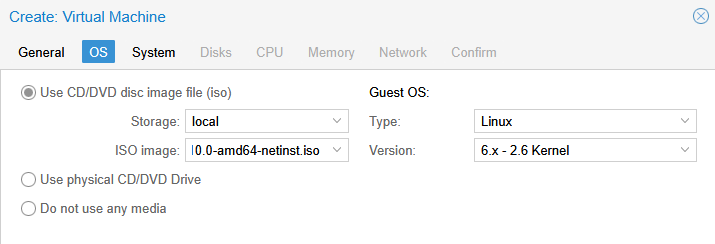
OS
- ISO Image: Select the Debian netinst ISO you just uploaded.
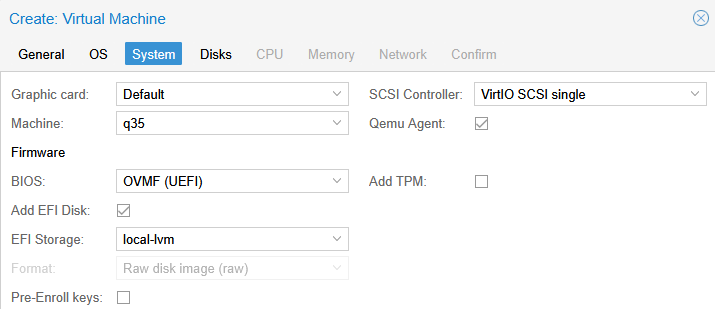
System
- Graphics Card: I typically use
Defaultfor most VMs. - Machine: I typically use
q35for most VMs. - BIOS: I typically use
OVMF (UEFI)for most VMs. - Add EFI Disk: I typically use
Yesfor most VMs. - EFI Storage: I typically use
local-lvmfor most VMs. - Pre-Enroll Keys: I typically use
Nofor most VMs. - SCSI Controller: I typically use
VirtIO SCSIfor most VMs. - Qemu Agent: I typically use
Yesfor most VMs.
Disks
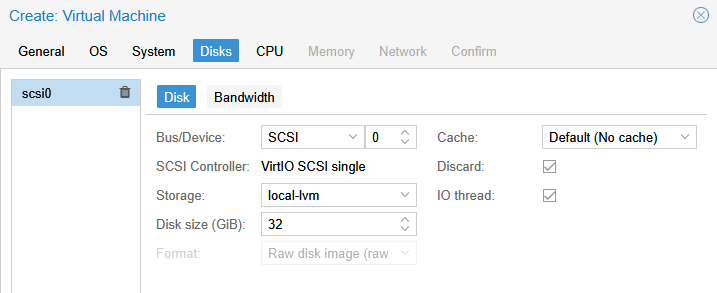
- Bus/Device: I typically use
SCSIfor most VMs. - Storage: I typically use
local-lvmfor most VMs. - Disk Size: I typically use
32GBfor most VMs. This can be changed later if you need more space. - Cache: I typically use
Nonefor most VMs. - Discard: I typically use
Yesfor most VMs. - IO Thread: I typically use
Yesfor most VMs.
CPU
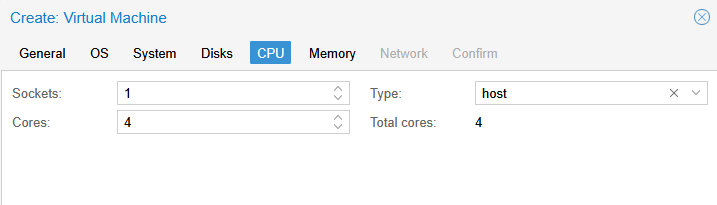
- Sockets: I typically use
1for most VMs. - Cores: I typically use
2-4for most VMs. - Type: I typically use
hostfor most VMs.
Memory
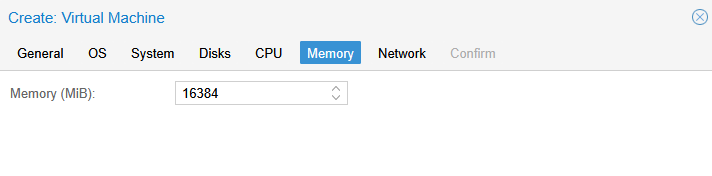
- Memory: This will vary greatly based on the application you are installing. Check the requirements.
Network
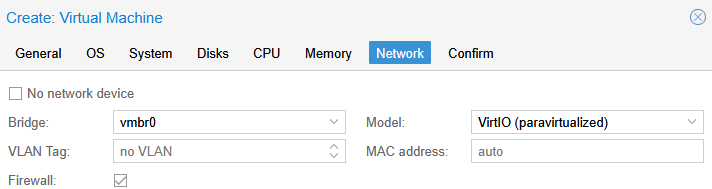
I leave all the defaults for the network settings. The default is virtio for the model and vmbr0 for the bridge.
Confirm
Confirm the settings and click Finish.
Start the VM
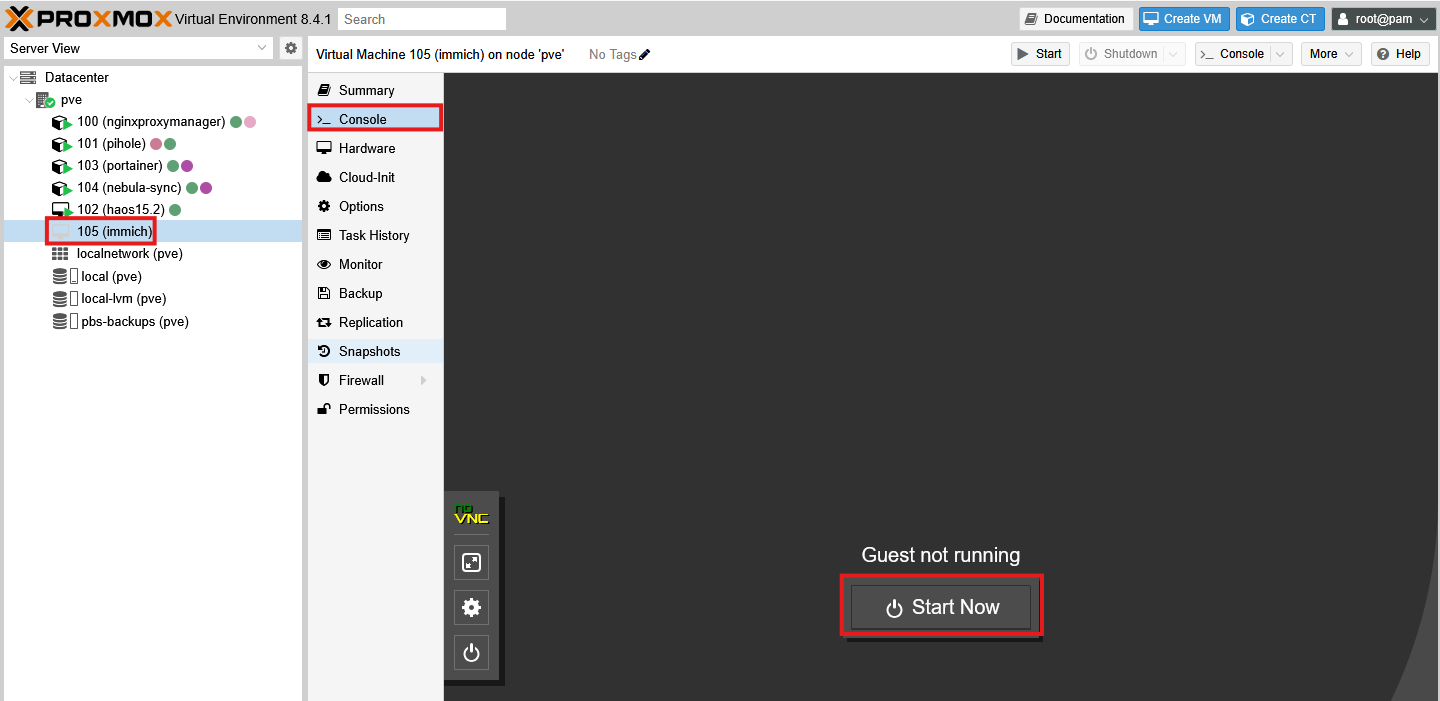
Once the VM is created, you will see it in the list of VMs. Click on the VM and then click the Console button. There should be a button to start the VM.
Install Debian
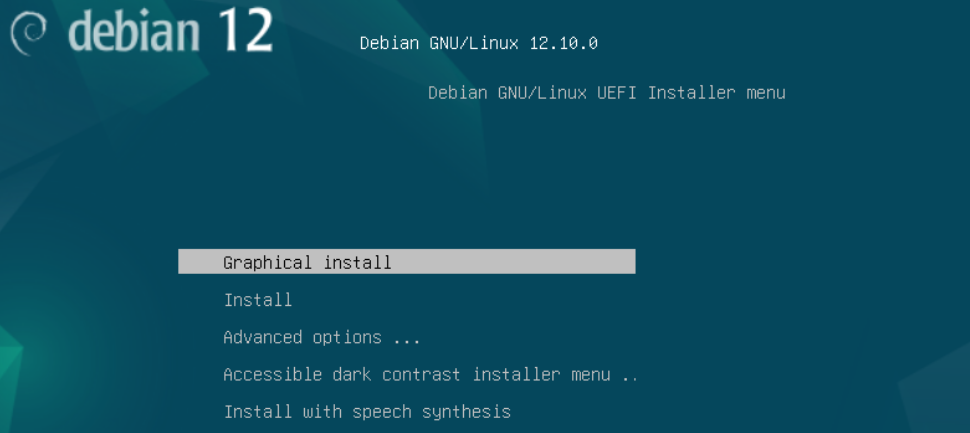
The system will boot up, select Graphical Install to continue.
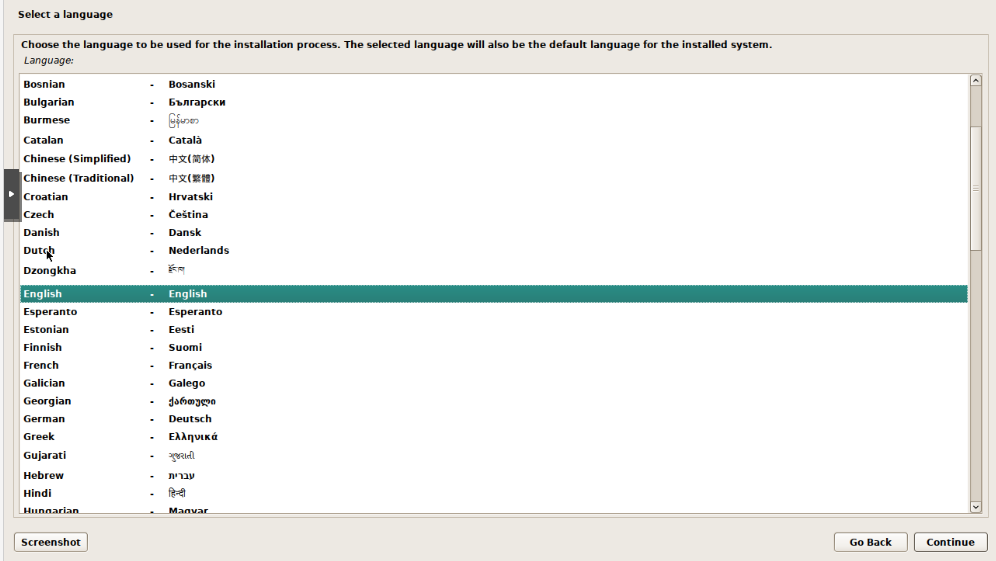
Select your language and click Continue.
Select your location and click Continue.
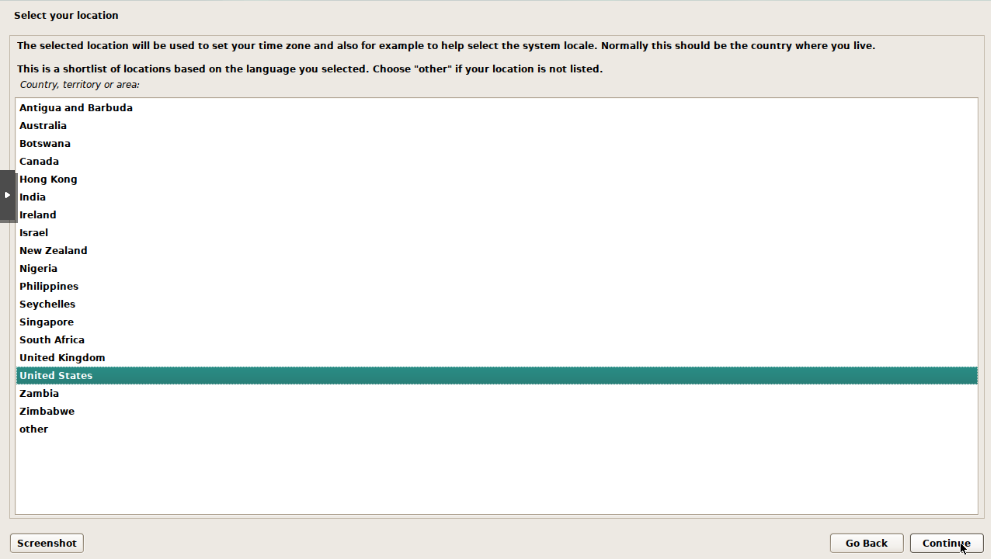
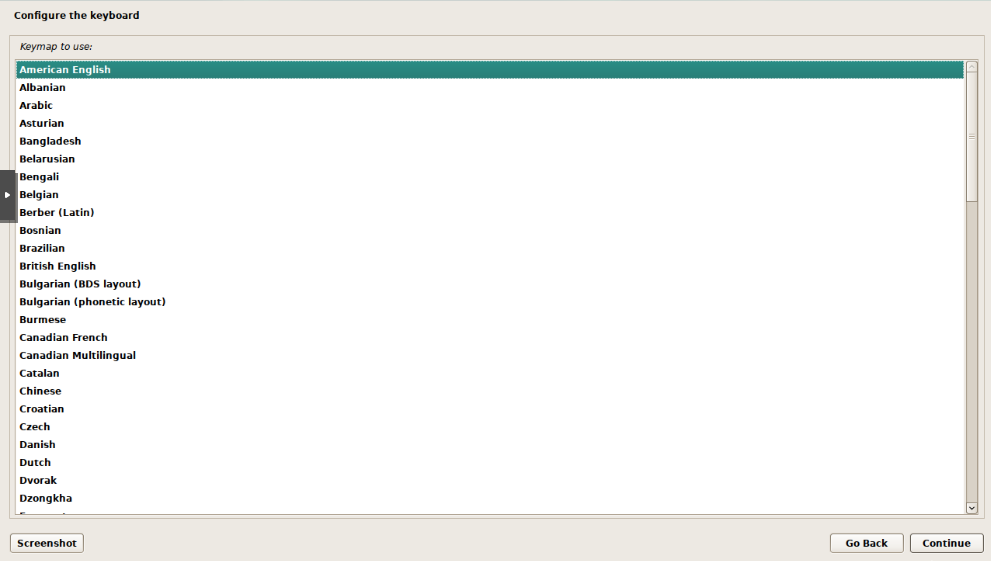
Select your keyboard layout and click Continue.
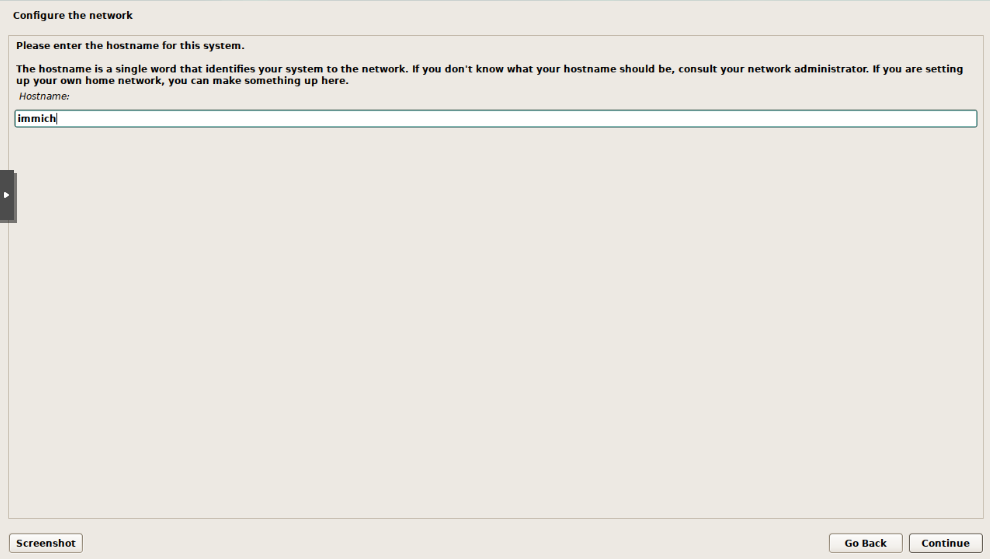
Enter a hostname for the system. This can be anything you like, but I typically use the name of the application I am installing. In this case, I will use immich.
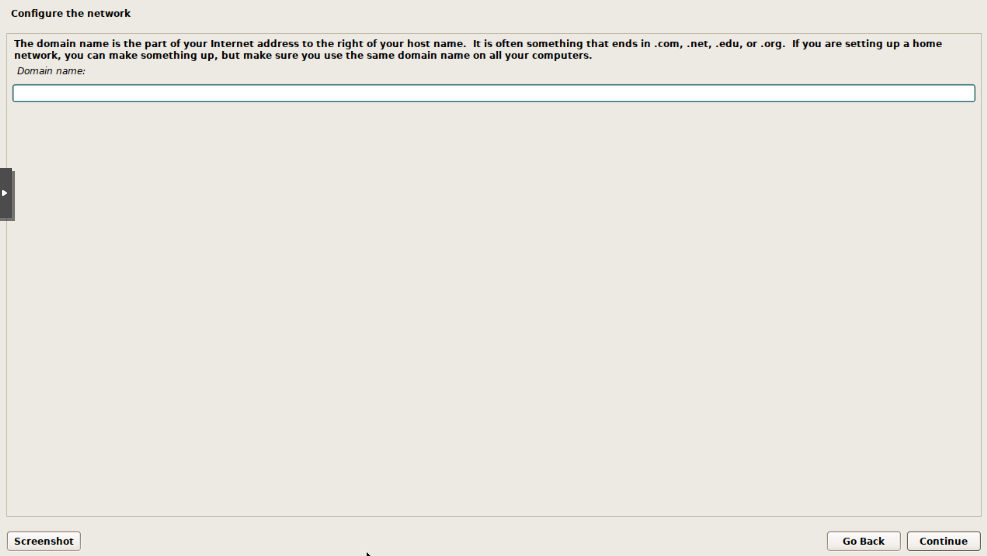
Leave the domain name blank and click Continue.
Set the root password and click Continue.
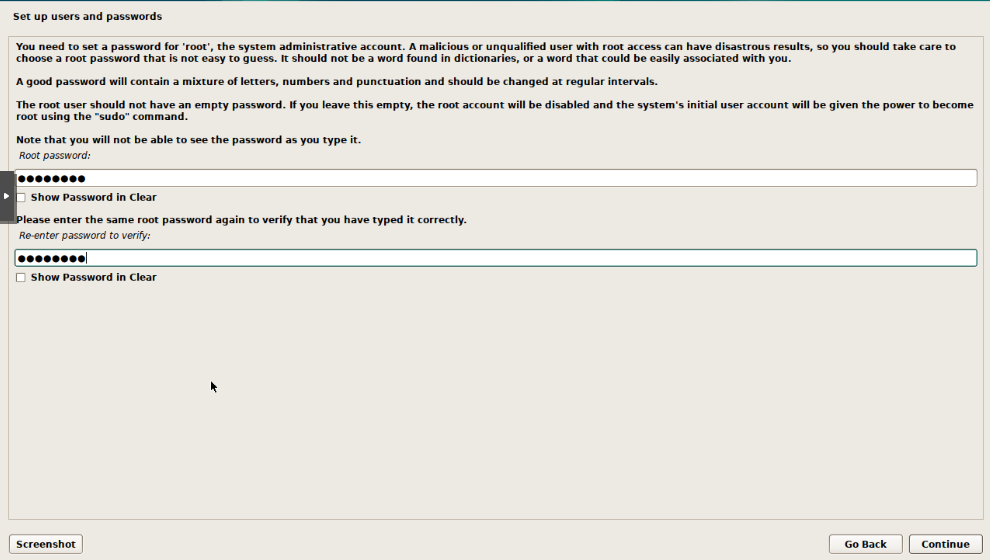
Set the user account name and click Continue. I will use hakehardware.
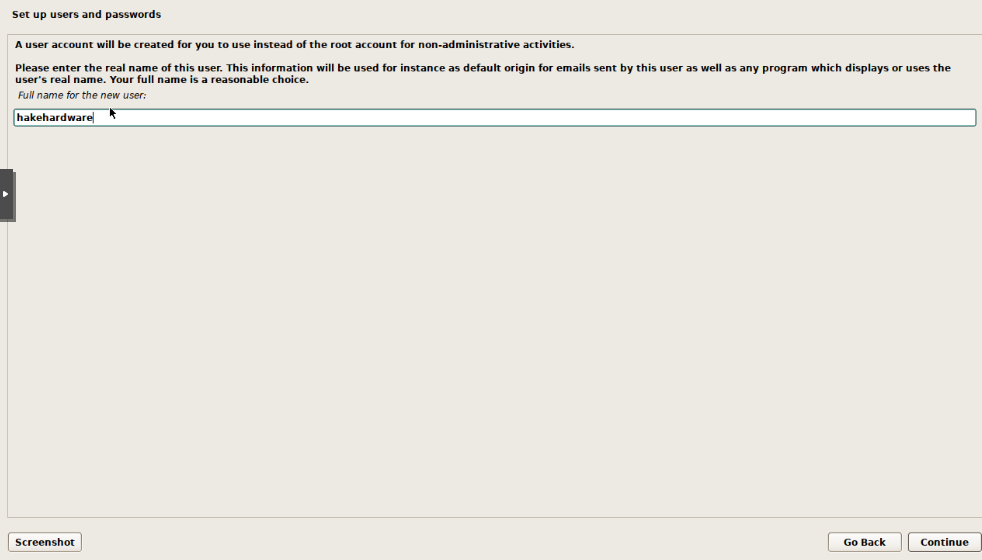
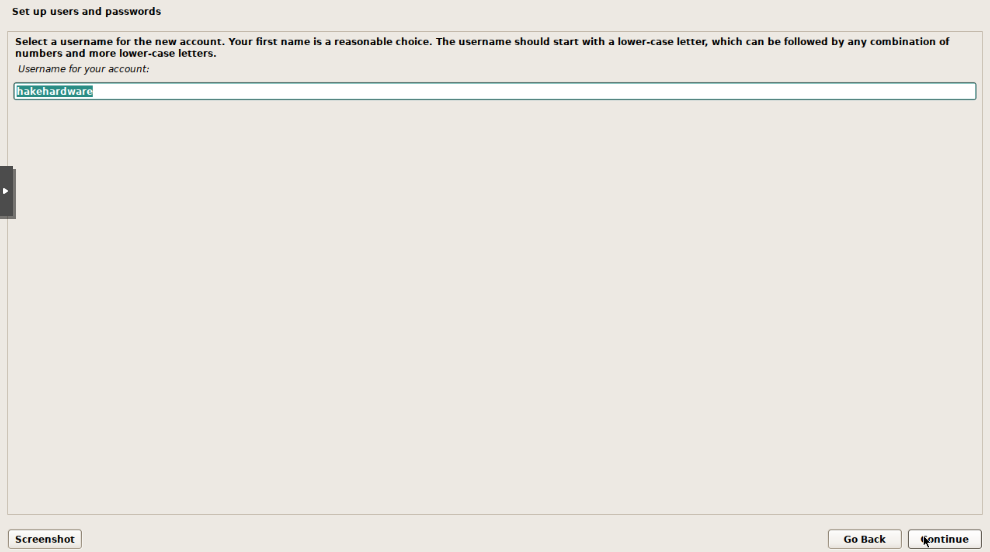
Set the username and click Continue. I will use hakehardware.
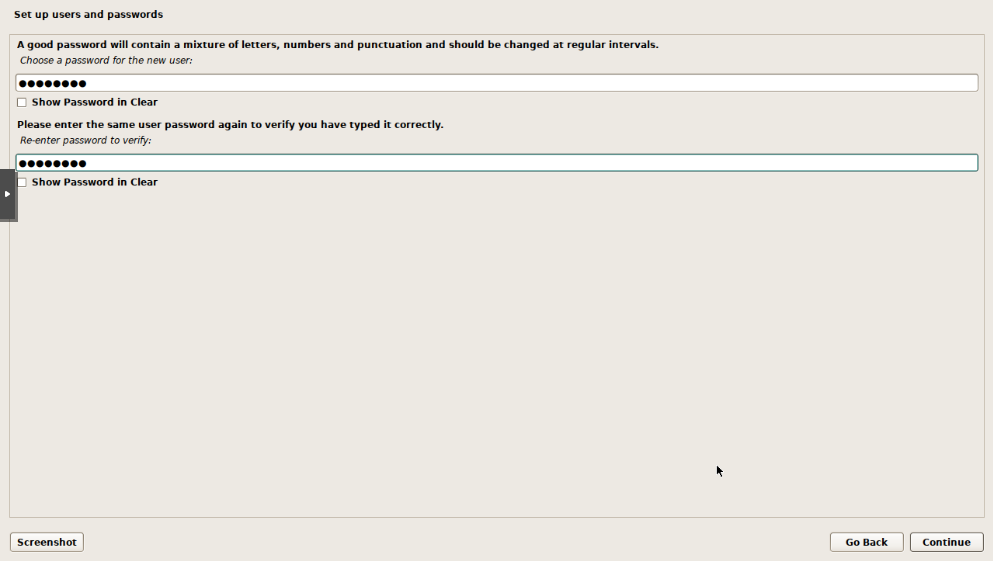
Set the password and click Continue.
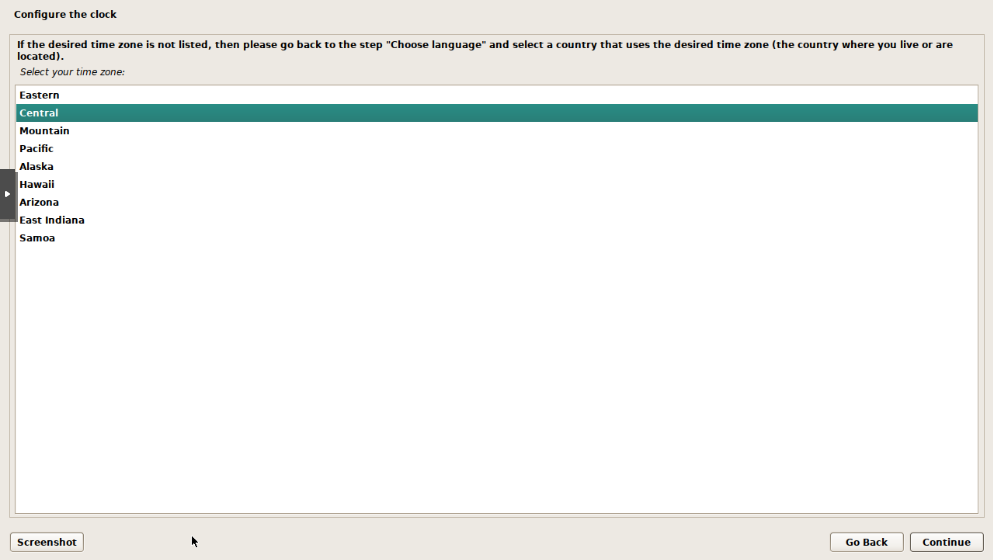
Set the time zone and click Continue.
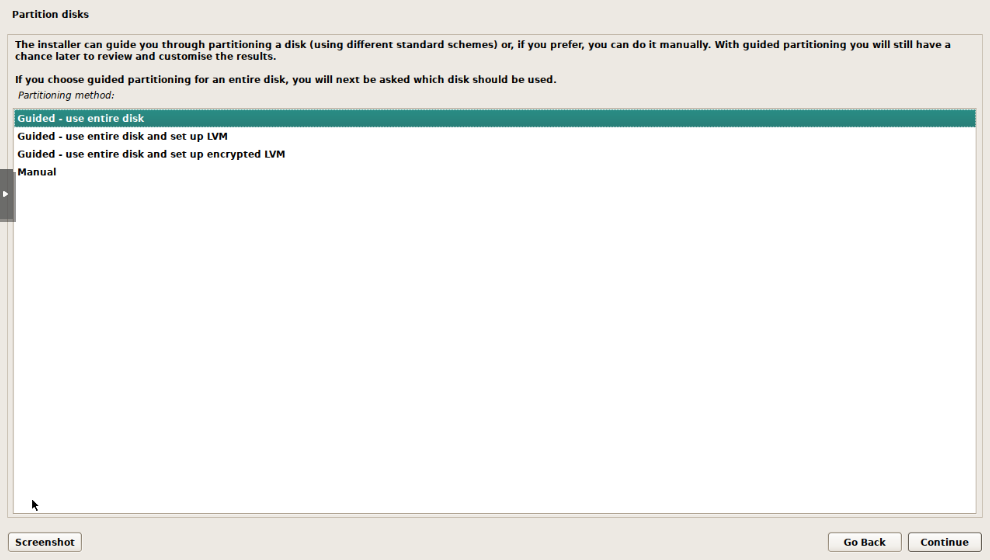
Choose the partitioning method. I typically use Guided - use entire disk and set up LVM for most VMs. This will automatically partition the disk for you.
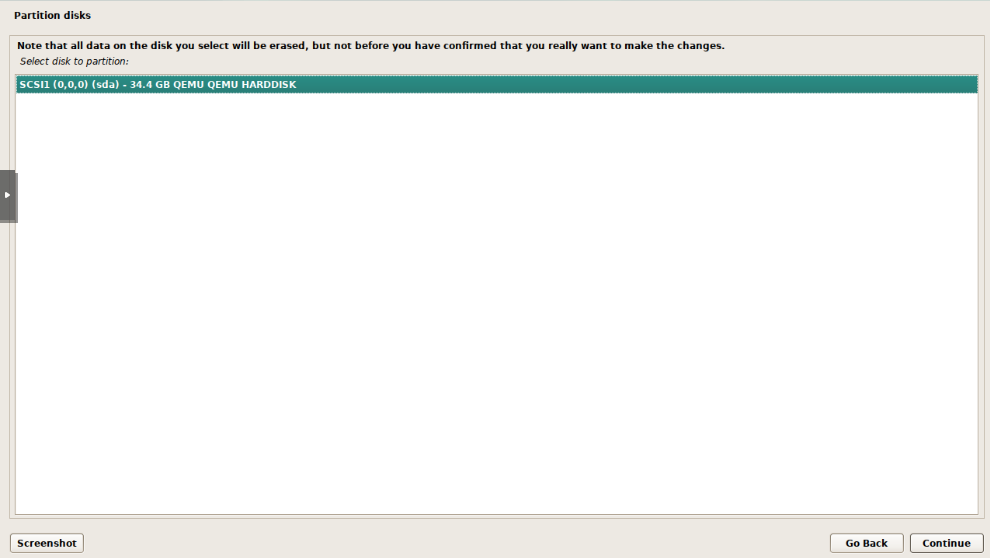
Select the disk to partition, there should only be one option. Click Continue.
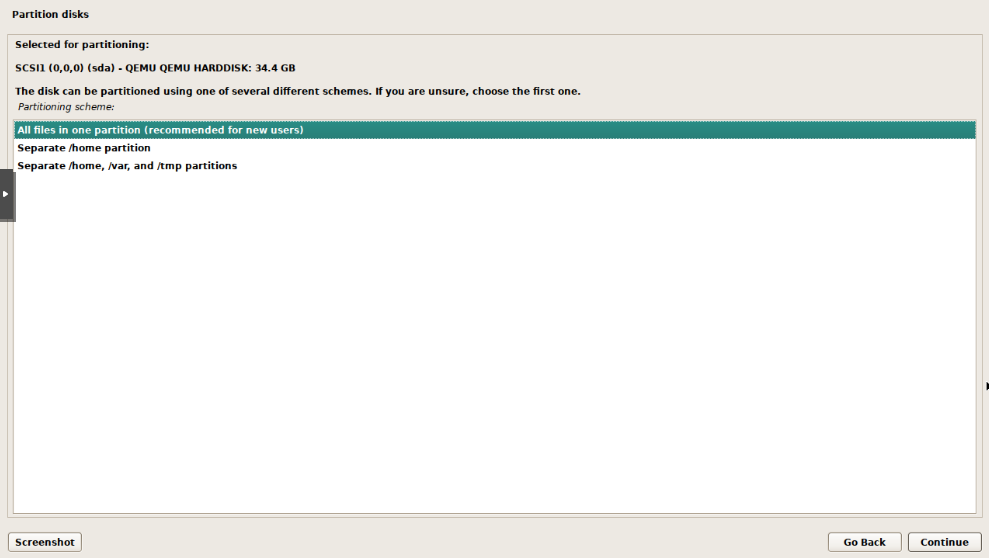
Select partition scheme. I typically use All files in one partition for most VMs. This will create a single partition for the entire disk.
Confirm the changes and click Continue.
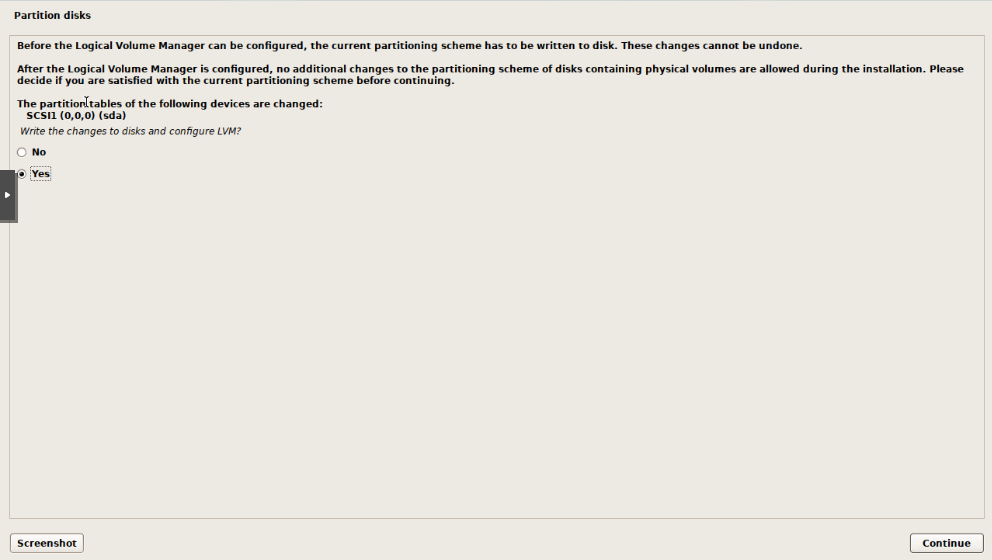
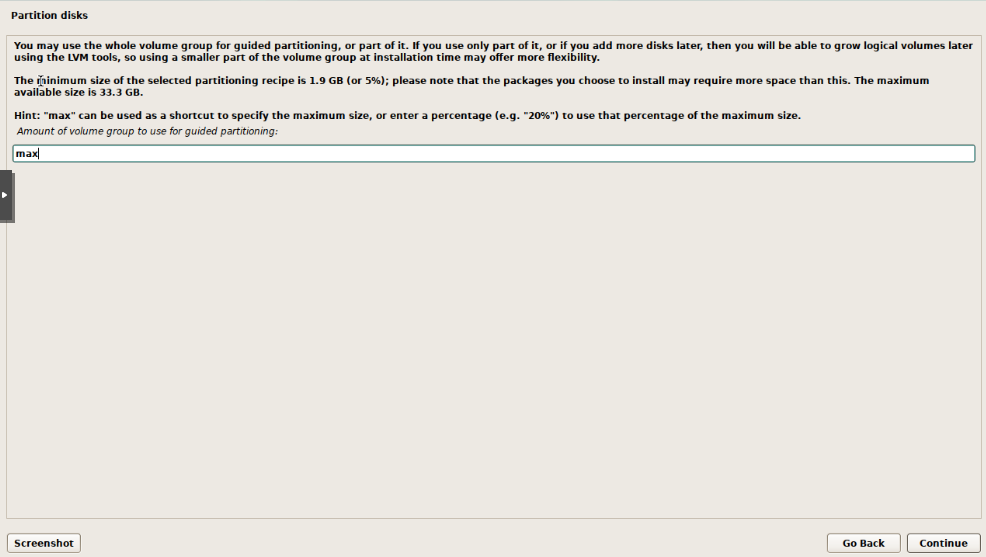
For the Volume Group size, I typically use max, this will use the entire disk. Click Continue.
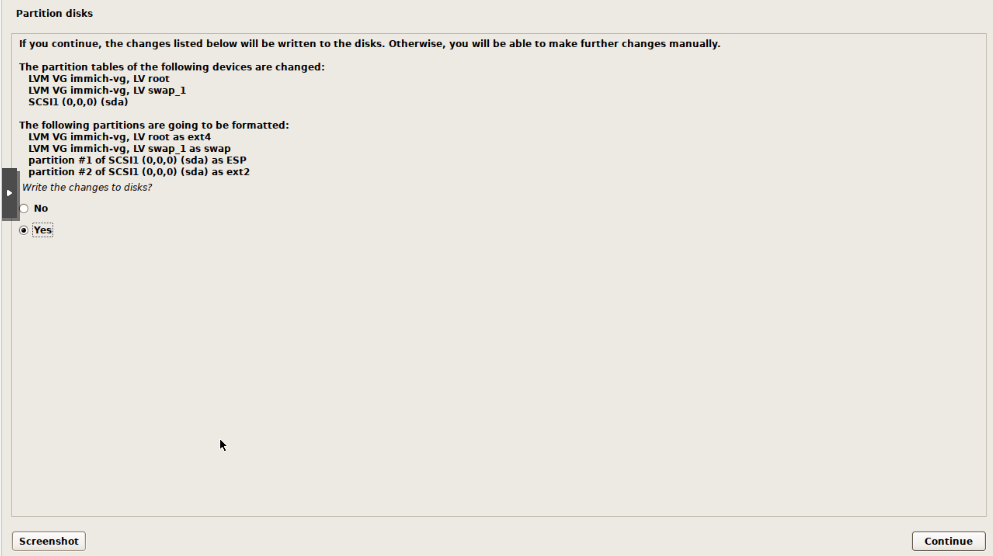
Finally, select Yes to write the changes to the disk and click Continue.
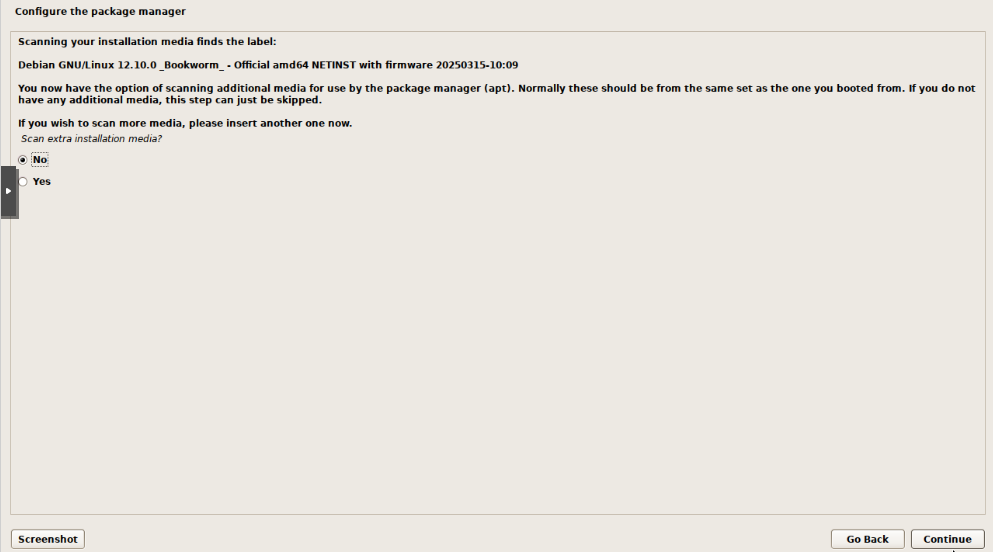
When prompted to scan for extra installation media, select No and click Continue.
Select the closest mirror for the Debian archive and click Continue.
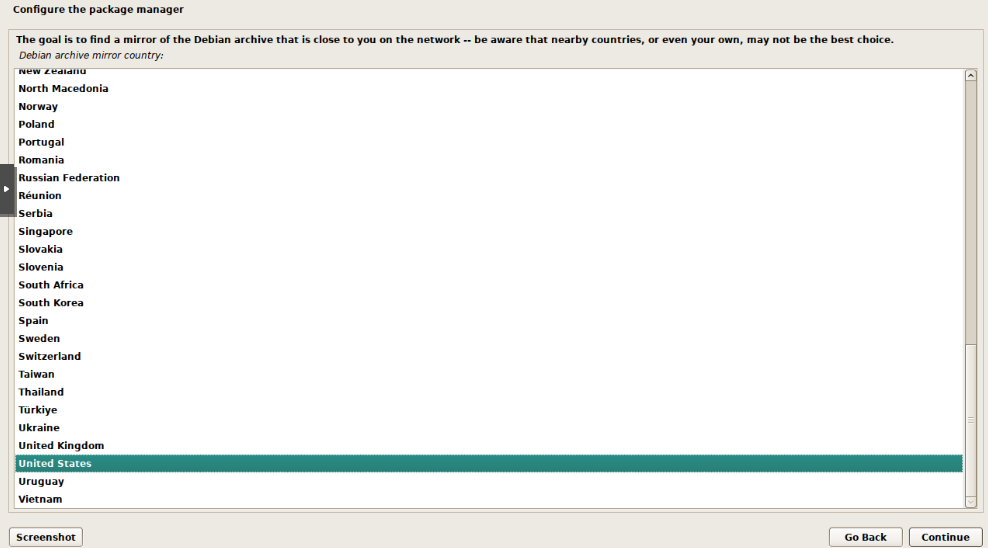
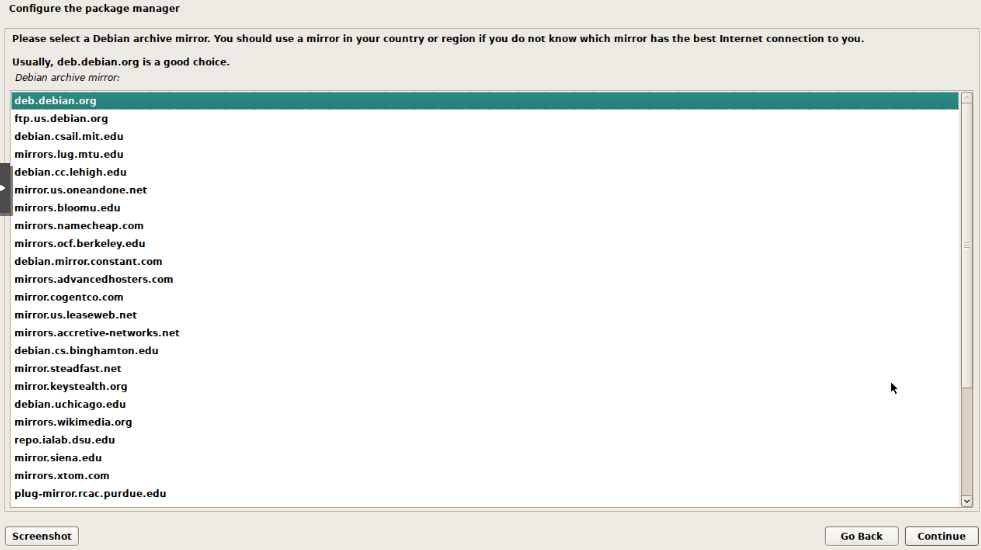
Select the archive mirror, I will use deb.debian.org for this example. Click Continue.
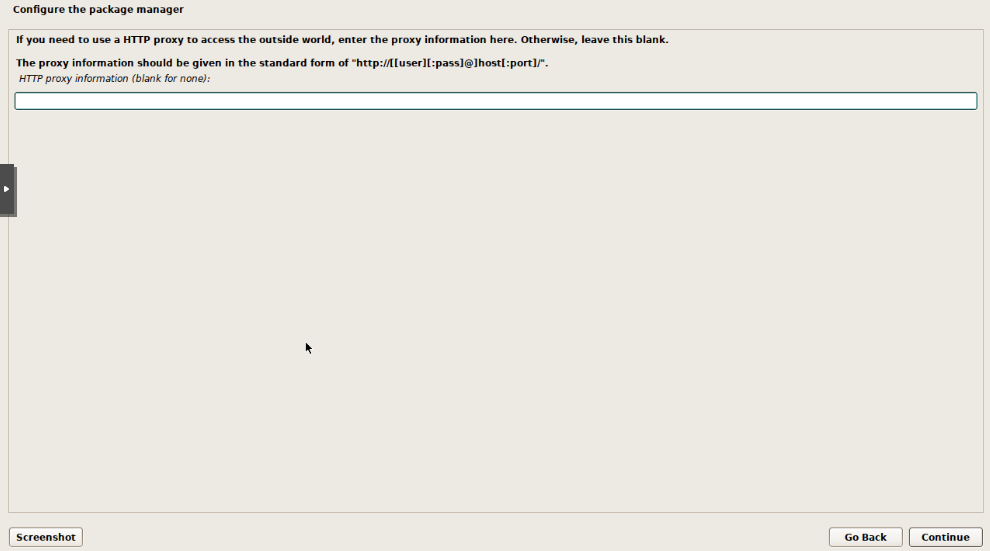
For proxy settings I leave it blank, but if you are using a proxy, you can set it here. Click Continue.
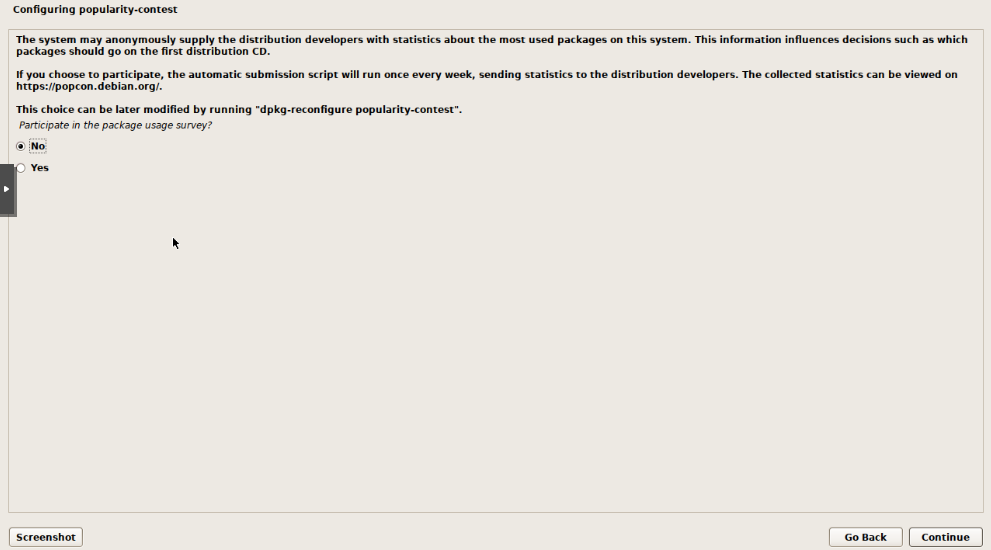
Configure popularity-contest, I typically select No for this. Click Continue.
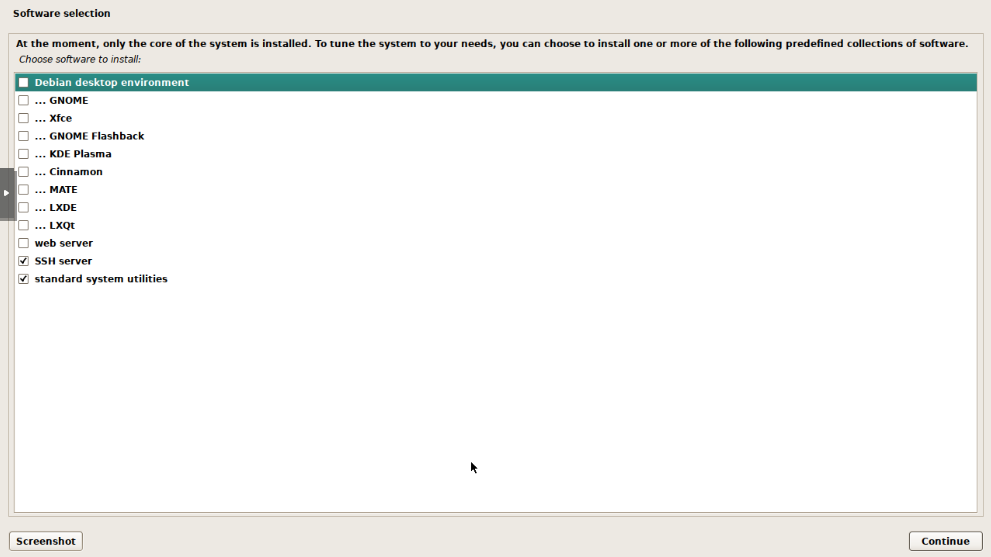
Select the software to install. I typically select SSH server and standard system utilities. Click Continue. I do not usually select a graphical desktop environment as I typically use the command line for most tasks. If you want to install a desktop environment, you can select it here.
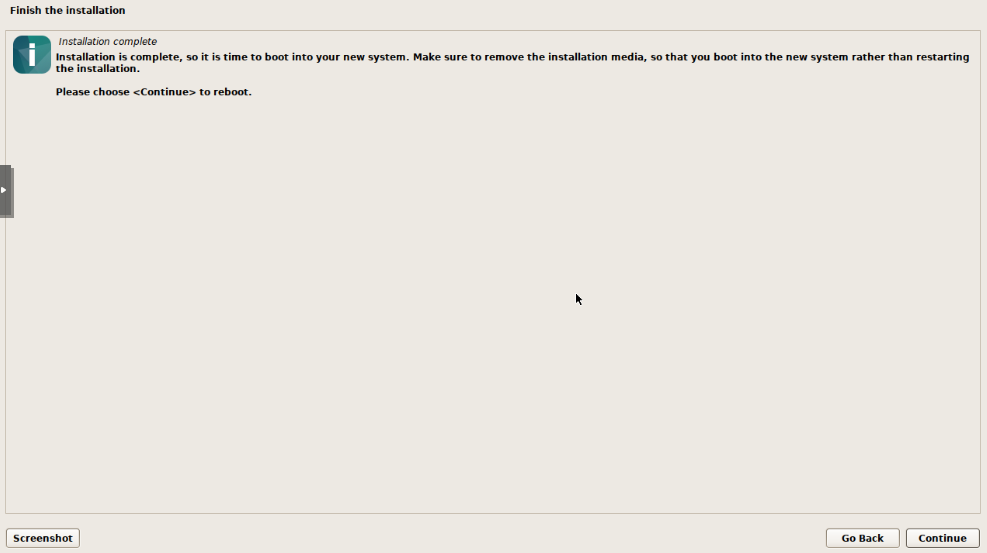
Once everything is installed, you will see a message that the installation is complete. Click Continue to reboot the system.
Remove media
Now that Debian has been installed, there is no need to keep the installation media. Click on the Hardware tab and select the CD/DVD drive. Then click Remove to remove the installation media.
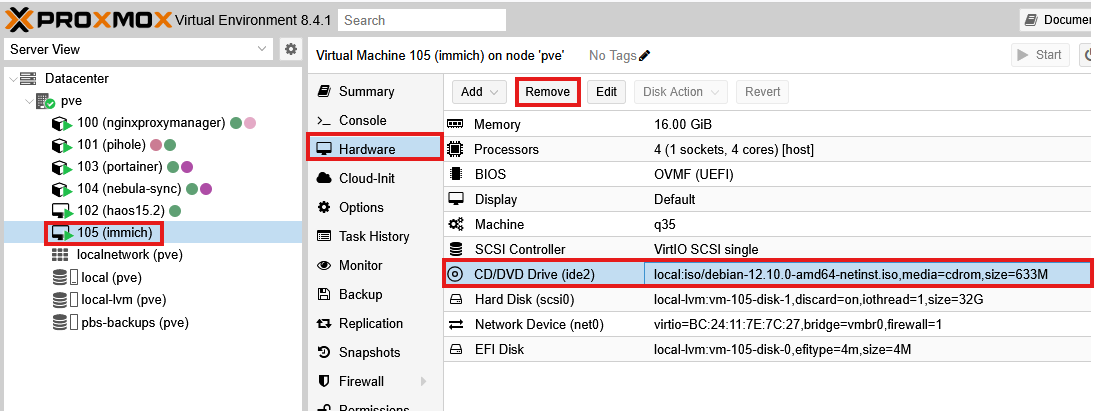
The media will not be removed from the VM until it is powered off. You can do this now or just wait - there is not really a downside either way.
Prepare System
Now that the system is up and running, there are a few things we need to do to prepare the system for use.
SSH Access
I prefer to SSH into the system as it is easier to manage things like copy and pasting. You should see the IP address of the VM in the Proxmox web interface. You can also use the ip a command to find the IP address.
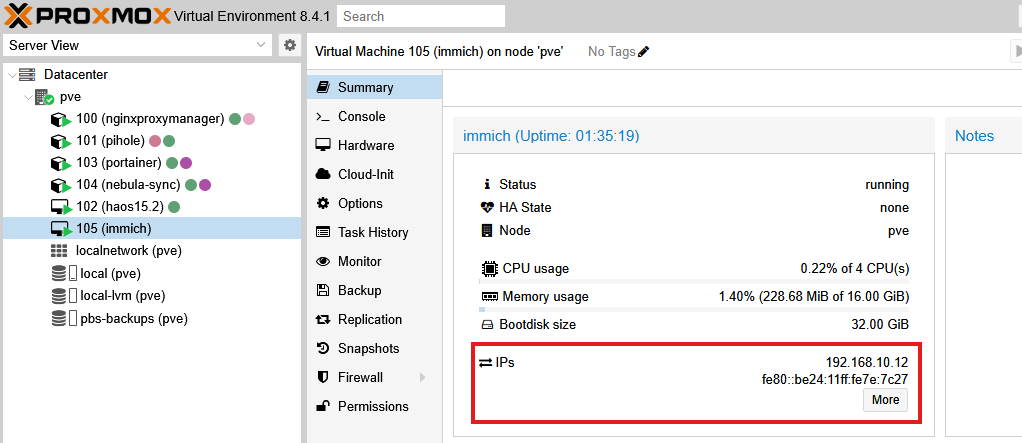
I use Termius as my SSH client, but you can use any SSH client you like. Open your SSH client and connect to the IP address of the VM. You will be prompted for the username and password you set during the installation.
Install Helpful Packages
Once you are logged in, there are a few packages I like to install to make things easier to manage. First, drop into the root user by running the following command:
su -Then install the following packages:
apt update && apt install -y sudo htop curl git cifs-utilsAdd User to Sudoers
Now that you have the sudo package installed, you can add your user to the sudo group. This will allow you to run commands with sudo without having to switch to the root user.
usermod -aG sudo <YOUR USERNAME>Now close the SSH session and log back in with your user account. You can now run commands with sudo without having to switch to the root user. For example, you can run the following command to update the package list:
Update System
Now is a good time to ensure the system is updated.
sudo apt update && sudo apt upgrade -yThis will update the package list and install any available updates. This may take a few minutes depending on your internet speed and the number of updates available.
Install Docker (Optional)
If you plan on using Docker, you can install it now. I typically use the quick install script, but always be careful about running scripts from the internet. You can find the script here.
curl -fsSL https://get.docker.com -o install-docker.shPerform a dry-run to see what the script will do before running it. This is a good way to check for any potential issues (optional)
sh install-docker.sh --dry-runThen run the script with the following command:
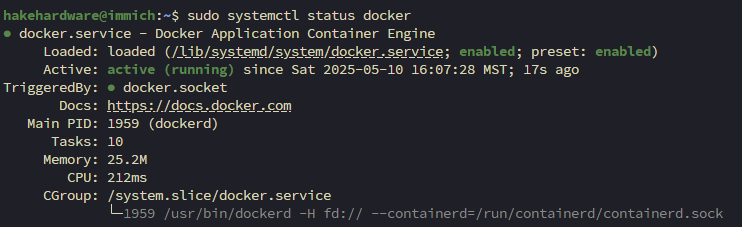
sudo sh install-docker.shThis will install Docker and start the Docker service. You can check the status of the Docker service with the following command:
sudo systemctl status dockerYou should see a message that the Docker service is active and running.
Conclusion
You now have a fresh Debian VM ready to go. You can now install any applications or services you need. This guide is a good starting point for setting up a Debian VM on Proxmox. You can customize the settings and packages to fit your needs. If you have any questions or comments, feel free to reach out. I am always happy to help!