Tutorial
Nextcloud - Post Install
A comprehensive guide for post-installation steps after setting up Nextcloud on Proxmox, including user management, SSH setup, updates, maintenance window, and common fixes.
This post contains paid links (affiliate) — how that works.
Contents
Overview
This page provides a comprehensive guide for post-installation steps after setting up Nextcloud on Proxmox. It includes various configurations and optimizations to enhance the performance and security of your Nextcloud instance.
Before starting, you should have Nextcloud installed on Proxmox using either the Helper Script or TurnKey Linux method.
User Management and SSH (TurnKey Linux)
Although Nextcloud can be managed via the Console in the Proxmox GUI, it is much easier to SSH into the VM via a non-root user and execute commands.
When TKL first boots up, the appliance services will be showing. Press enter to Quit to log in with the root user.
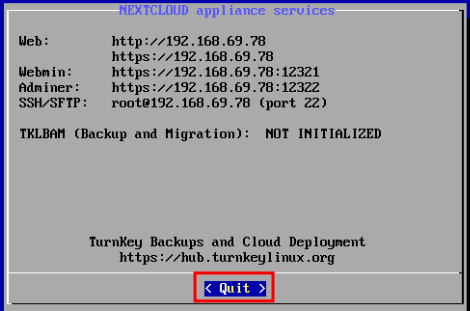
Login with root and the password that was set during installation. Once logged in, install sudo so that the new user can perform admin tasks:
apt update && apt install sudoNext, add the new user:
adduser --home /var/www <username>Due to how TKL is set up, there may be some minor permission issues
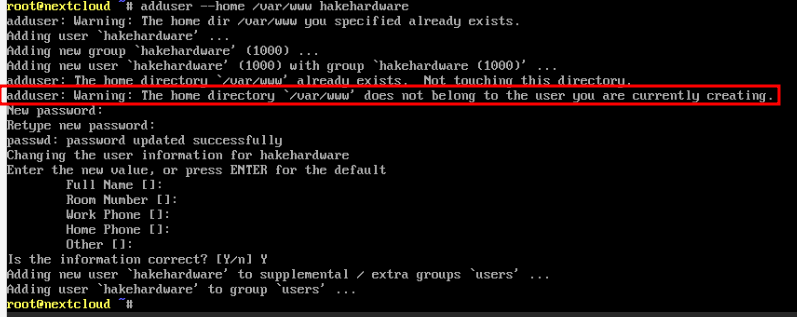
Add the user to the following groups:
usermod -aG sudo,www-data <username>Fix the ownership:
chown -R www-data:www-data /var/wwwSet directories to 775:
find /var/www -type d -exec chmod 775 {} \;Set files to 664:
find /var/www -type f -exec chmod 664 {} \;The newly created user can now be logged in to via SSH.
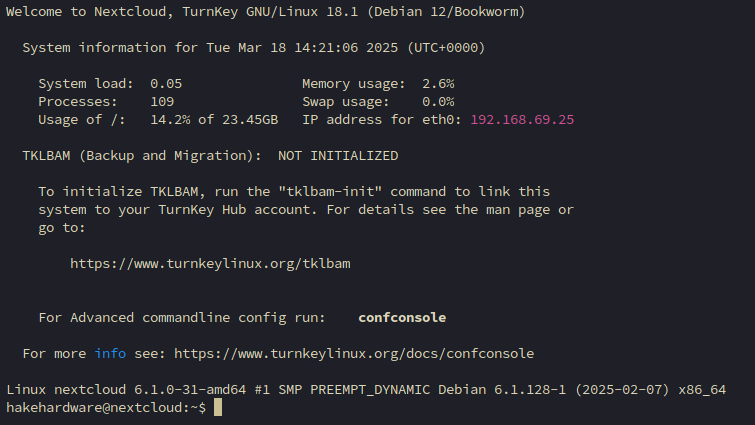
If you are looking for a nice SSH client, check out Termius
Update Nextcloud
Navigate to the Nextcloud web interface via the IP address shown in the console.
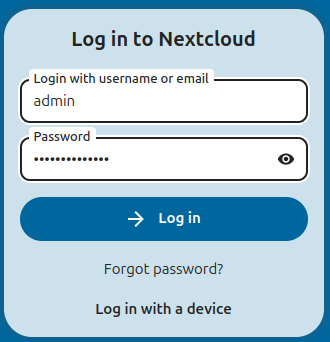
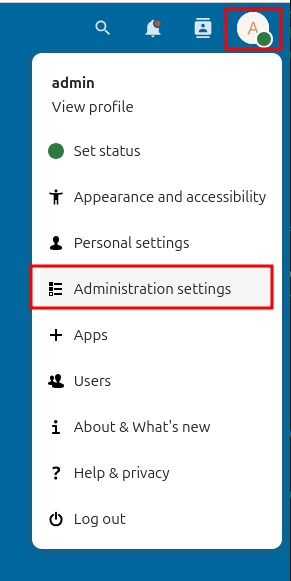
Once logged in, locate the A icon in the top right corner and click it, then select Administrative settings
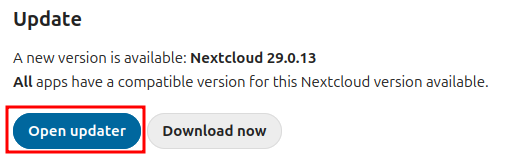
Scroll down to the Update section and click Open updater to begin the update process.
When the updater loads, click Start update. Once ready to apply:
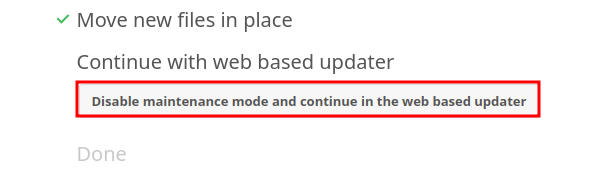
Click it to begin applying the update. Press the Start update button:
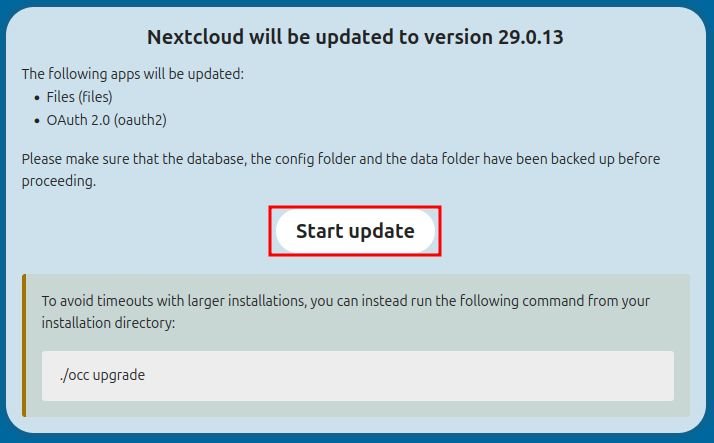
This process will need to be repeated until all the updates are applied. The updater will only update to the next major version (ie. 29>30>31).
Set Maintenance Window
sudo turnkey-occ config:system:set maintenance_window_start --type=integer --value=3
Repair Mimetypes
sudo turnkey-occ maintenance:repair --include-expensiveAdding Missing Indices
sudo turnkey-occ db:add-missing-indicesSet Default Phone Region
sudo nano /var/www/nextcloud/config/config.phpThen add:
'default_phone_region' => 'US',
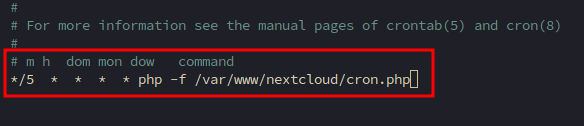
CRON Not Running
sudo crontab -u www-data -eThen add this line to the bottom:
*/5 * * * * php -f /var/www/nextcloud/cron.phpSave with Ctrl+X, Y, Enter.
OPCache Interned Strings Buffer
sudo nano /etc/php/8.2/fpm/php.iniSearch for interned_strings_buffer and set it to 8.

Restart apache2:
sudo systemctl restart apache2