Tutorial
Nextcloud - TurnKey Linux
A comprehensive guide to installing Nextcloud via TurnKey Linux.
This post contains paid links (affiliate) — how that works.
Overview
This wiki covers how to install Nextcloud using Proxmox and TurnKey Linux (TKL). There are multiple ways in which Nextcloud can be installed, but this wiki will focus on TKL.
Download TKL Nextcloud
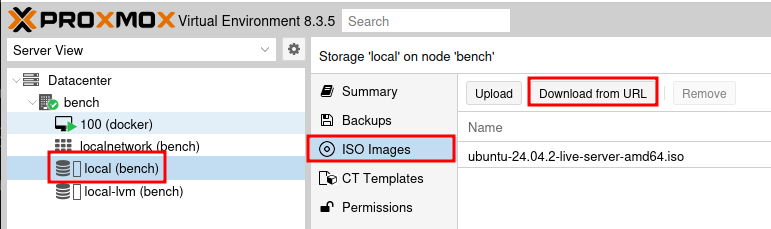
The first step is to Download TKL Nextcloud to your ISO images in Proxmox. Open up Proxmox and navigate to local disk in the Server View. Then select ISO Images, and then Upload
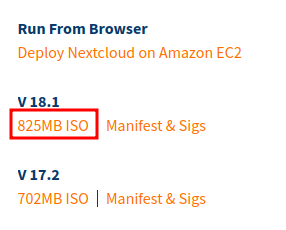
Now copy the link for the ISO image on the TKL Nextcloud page.
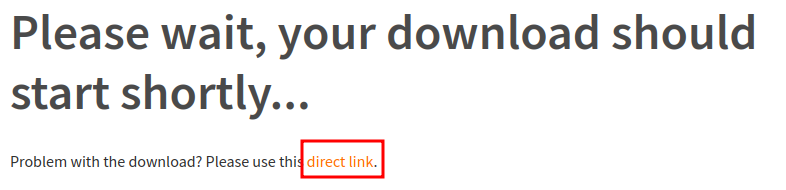
Cancel the download, and then copy the direct link.
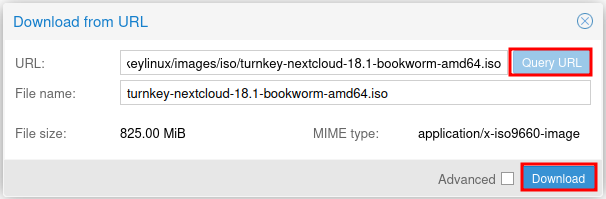
With the link copied, paste the URL into the URL: input and click Query URL. Then click Download.
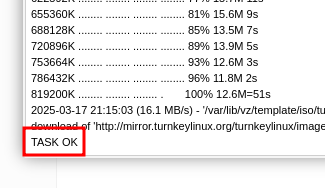
The download will begin, and once it is complete you will see TASK OK.
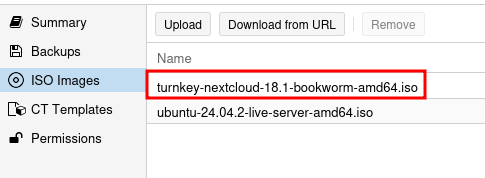
You should now see the ISO available in the ISO Images section.
Deploy the VM
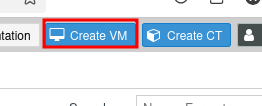
Now that the ISO is available, the VM can be launched. Begin by clicking the Create VM button at the top right.
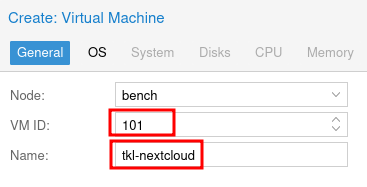
Set the VM ID and Name to your liking. Then click Next.
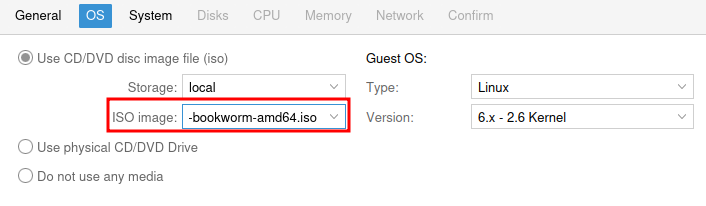
For storage, either leave the default local or select the appropriate disk. Next, select the ISO that was just downloaded.
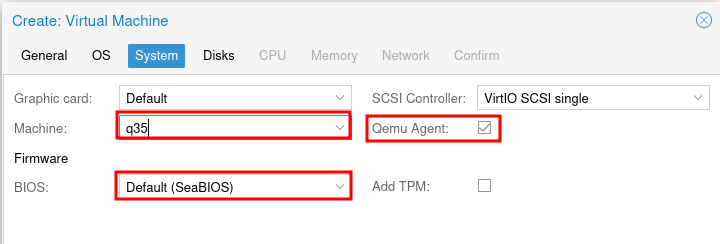
Select q35 (recommended). The BIOS must be left to SeaBIOS as UEFI will not work with TKL. Optionally select the Qemu Agent (recommended).
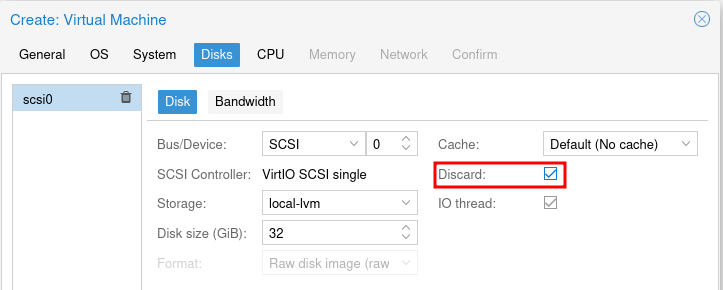
Under disks, 32GB is sufficient for the OS and Nextcloud installation. Enable Discard if using an SSD.
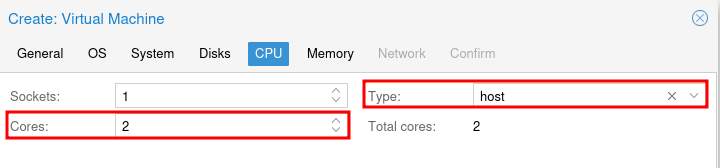
Typically 2 cores should be sufficient. Select host as the Type.
Set at least 4096MiB of RAM, with 8192MiB for smoother performance with apps.

Leave the Network options as default. Finally, click Finish and wait for the VM to be created. Once created, click on the VM and go to the Console.
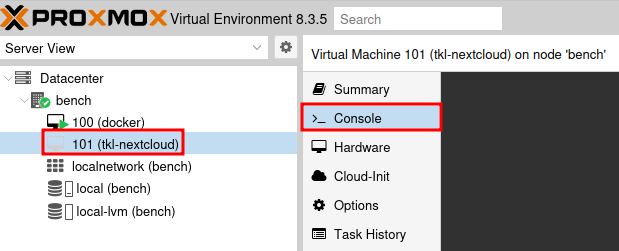
Install Turnkey Linux
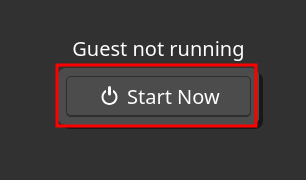
To start the installation, click Start Now to start the VM.
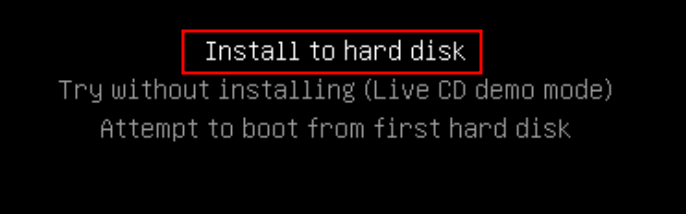
The VM will boot up Turnkey Linux. Select Install to hard disk
Choose Guided - use entire disk and set up LVM. Then tab over to Yes when asked to write the changes. When prompted for volume group size, type in max.
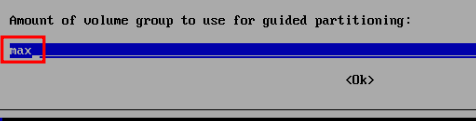
Tab to Yes and press enter to write the changes to disk. Wait for the installation to complete. When prompted to install the GRUB boot loader, select Yes. Once GRUB is installed, select the option to Reboot system.
Once TKL has booted, there will be multiple prompts to create passwords. It is recommended to save them.
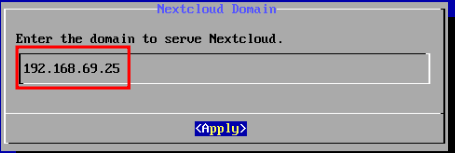
When prompted to set the domain for Nextcloud, identify the IP address for the Nextcloud instance, type it in and press enter.
Skip creation of an API key and optionally set an Email. Install the security updates before proceeding. Then reboot the system.
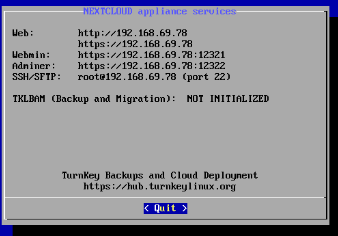
Nextcloud is now installed and running! It is highly recommended to check out the following topics:
- Post Install Steps
- Email Server
- Adding Additional Storage
- Installing Nextcloud Office