Tutorial
Windows 11 - Create VM
Learn how to launch a Windows 11 VM in Proxmox
This post contains paid links (affiliate) — how that works.
Contents
This guide goes over how I create a Windows 11 VM. There is no guarantee that it follows best practices or will work for other setups. However, after reading through lots of documentation and guides, this worked best for me.
Introduction
This guide covers how to launch a Windows 11 VM in Proxmox V8.2.2. This guide assumes you have Proxmox installed already.
Download Windows 11 ISO
Navigate to the Windows 11 Download page and scroll down to the section labeled "Download Windows 11 Disk Image (ISO) for x64 devices". Then select "Windows 11 (multi-edition ISO for x64 devices)" from the drop down.
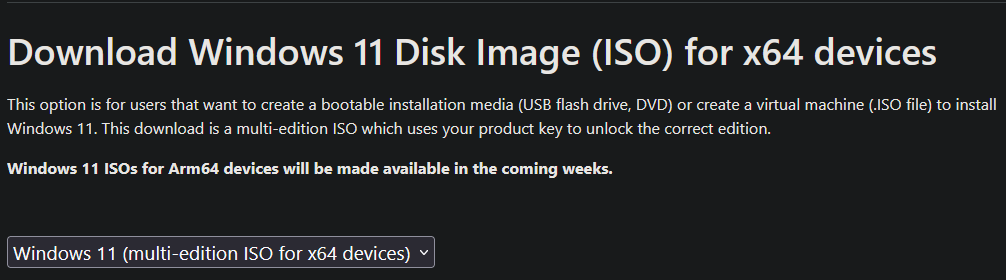
Then click the "Download Now" button. Select the product language.
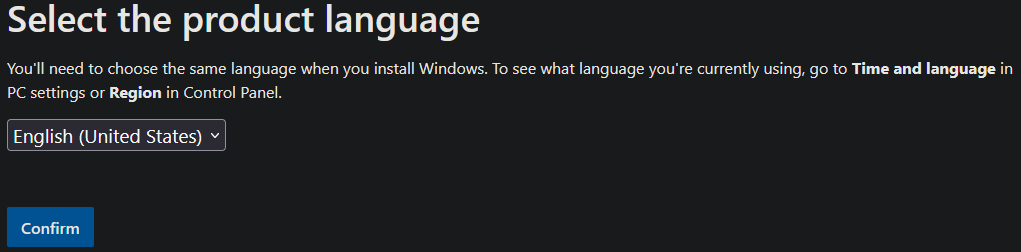
Then click "Confirm". Finally, click the "64-bit Download" to begin the download.

Once the download completes move to the next step.
Download Windows VirtIO ISO
For full driver compatibility the VirtIO drivers should be installed. Navigate to the GitHub page for the virtio-win repo. Then under "Variant 1" click the link to download the "virtio-win.iso" file.
Now upload the ISO file using the same steps used to upload the Windows 11 ISO.
Upload ISO to Proxmox
Open up Proxmox, in the "Server View" open your environment and select the "local (pve)".
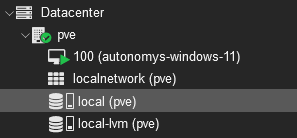
Then on the right side click "ISO Images". Then click the "Upload".
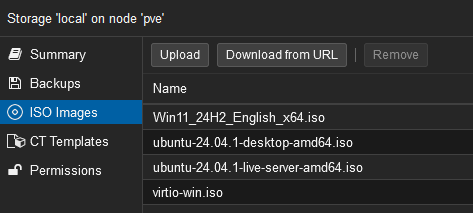
Select the file you wish to upload. To verify the ISO after uploading, a hash algorithm and checksum can be provided. Typically for Windows ISOs it will be SHA-256 and the checksum can be found on the Windows download page.
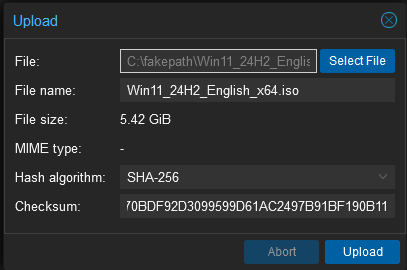
The file will begin to upload. Once complete close the upload window. The ISO can now be selected when installing Windows.
Configure VM
Click the "Create VM" button to bring up the VM configuration workflow.
General
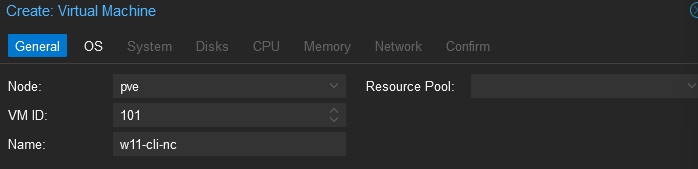
In the General section add a "Name" for the VM. The "Node" and "VM ID" do not need to be updated in most cases. The "Resource Pool" can be left blank. Click "Next" when ready.
OS
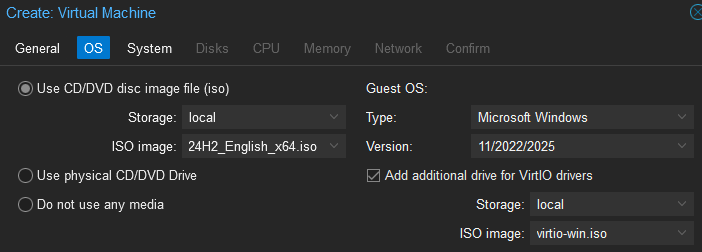
Select the Windows 11 ISO image and then check the box to "Add additional drive for VirtIO drivers". Then select the "virtio-win.iso". Click "Next" when ready.
System
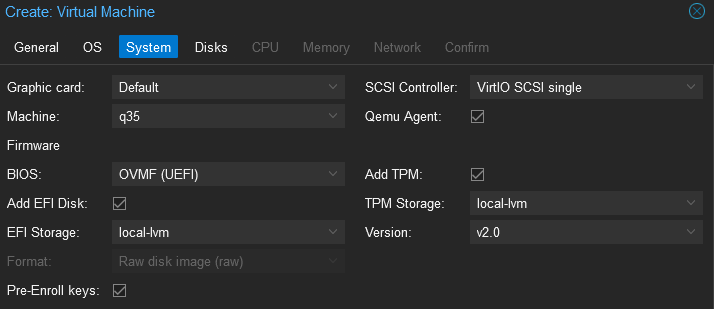
Select the following options:
Graphics card: Default Machine: q35 BIOS: OVMF (UEFI) Add EFI Disk: Checked EFI Storage: local-lvm Pre-Enroll keys: Checked SCSI Controller: VirtIO SCSI single Qemu Agent: Checked Add TPM: Checked TPM Storage: local-lvm Version: v2.0
Disk
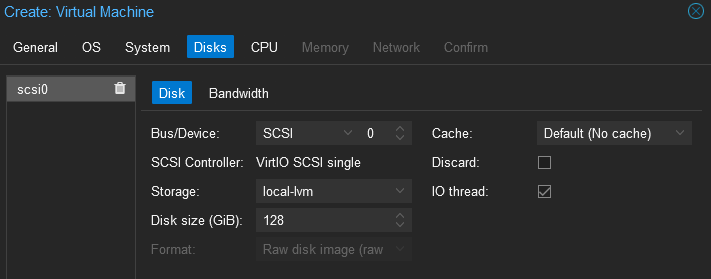
Set the Disk size in GiB, the recommended minimum is 64GiB. Leave all others as default.
CPU
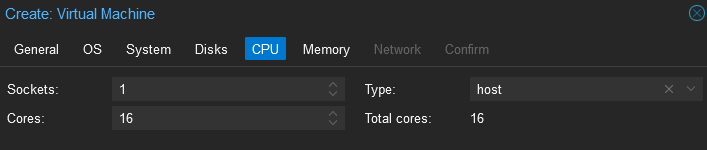
Select the number of cores needed. Select "host" for "Type".
Memory
Enter in the amount of system memory to allocate.

Network
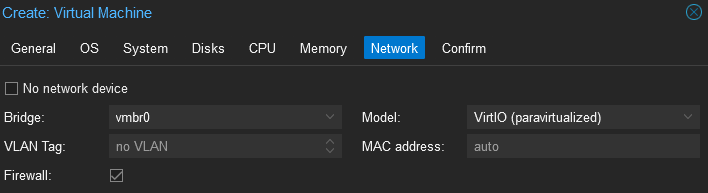
Leave the defaults
Confirm
Leave the "Start after created" unchecked. And then click "Finish".
Install Windows
In the "Server View", find the new VM and right click, then select "Start". Then right click again and select "Console". This should bring up a window where you can view the "Monitor" of the VM. You may need to press a key on your keyboard to boot from the CD/DVD to get started.
Windows Setup
Follow the first few steps of the Windows 11 Setup workflow. I recommend choosing Windows 11 Pro if you want to use Remote Desktop in the future. Once you reach the "Install Location" page proceed to the next step to install the drivers.
Driver Installation
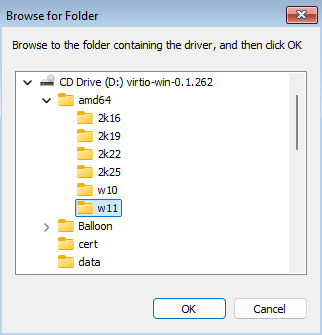
You likely will be unable to see any disks until the correct drivers are installed. Click the "Load Driver" option to load the virtio-win SCSI driver. Click "Browse" and then navigate to the path \amd64\w11 and then click "OK".
Select the "Red Hat VirtIO SCSI pass-through controller", then click "Install". After the driver is installed the driver should be visible.
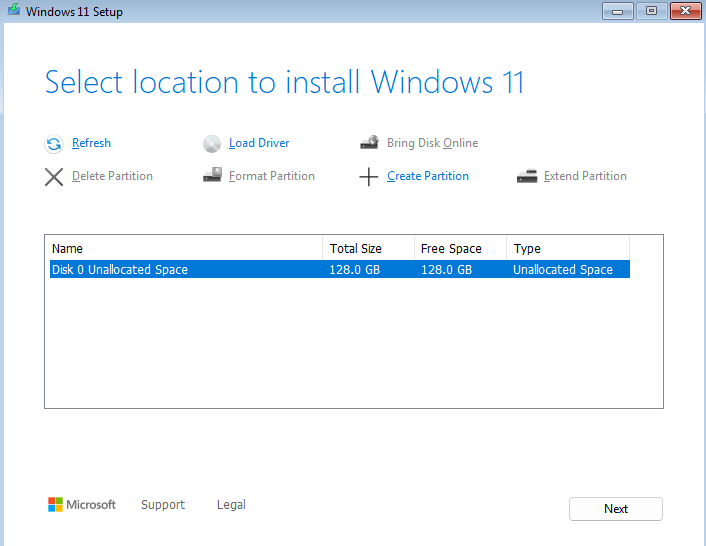
Click "Next" to proceed. Then "Install". Wait for the installation to finish. It may reboot a few times. Once the configuration workflow loads up, proceed to the "Let's connect you to a network step" then proceed to the next step.
Install VirtIO Drivers
Previously, only the driver to view the disks during installation was installed. Now all the drivers need to be installed in order to have full functionality of the VM. Press shift + f10 to bring up the Terminal. You will need to click the Terminal to bring it into focus. Then start the driver installation:
D:\virtio-win-guest-tools.exe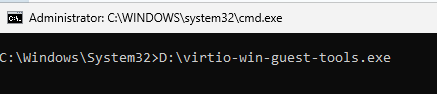
Once executed, the VirtIO setup will start. Follow the installation instructions. I typically use the defaults. Once the install has finished click "Finish" and close out of the Terminal. The "Network" should now be connected. Click "Next" to proceed and complete the Windows installation as normal.
Post Installation
Remote Desktop (Optional)
Once everything is installed, boot into Windows and that is it! Here are some common next steps. If you want to connect remotely, you can enable Remote Desktop from the Windows Settings.
Qemu Agent
The Qemu Agent was installed with the VirtIO drivers and you should be able to properly send Start, Shutdown, Stop, and Restart signals to your VM.